Databrary 2.0
About
This page describes the most important changes in Databrary 2.0, launched on March 7, 2025.
Logging in
Like Databrary 1.0, you may log in via the orange Login button

or the login button on the application menu bar.
After you log in, the menu bar will appear like this:
Databrary 2.0 supports two-factor authentication (2FA). When you log in with your password, the system will send an email to the account associated with Databrary with a one-time password (OTP). Enter this password in the 2FA window.
In the very near future Databrary 2.0 will support 2FA via text message.
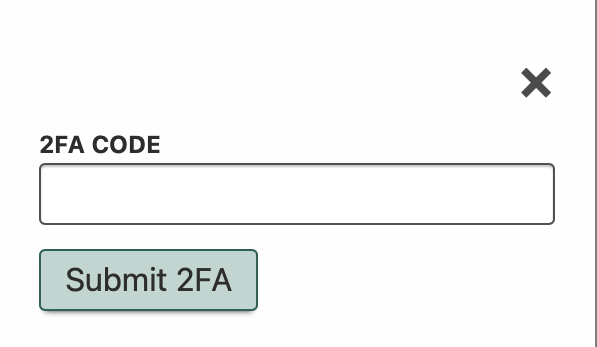
Check your spam/junk filter if you do not see the email shortly after you log in.
The email will come from “help@databrary.org” with “Databrary OTP” as the subject.

Logging out
Databrary 2.0 has a small Logout button to the right of the logged-in user’s name.
It is a good practice to log out when you are finished working with Databrary.
Accessing your volumes
Click on your name in the menu bar to navigate to your (private) profile page.

You will see a view like this:
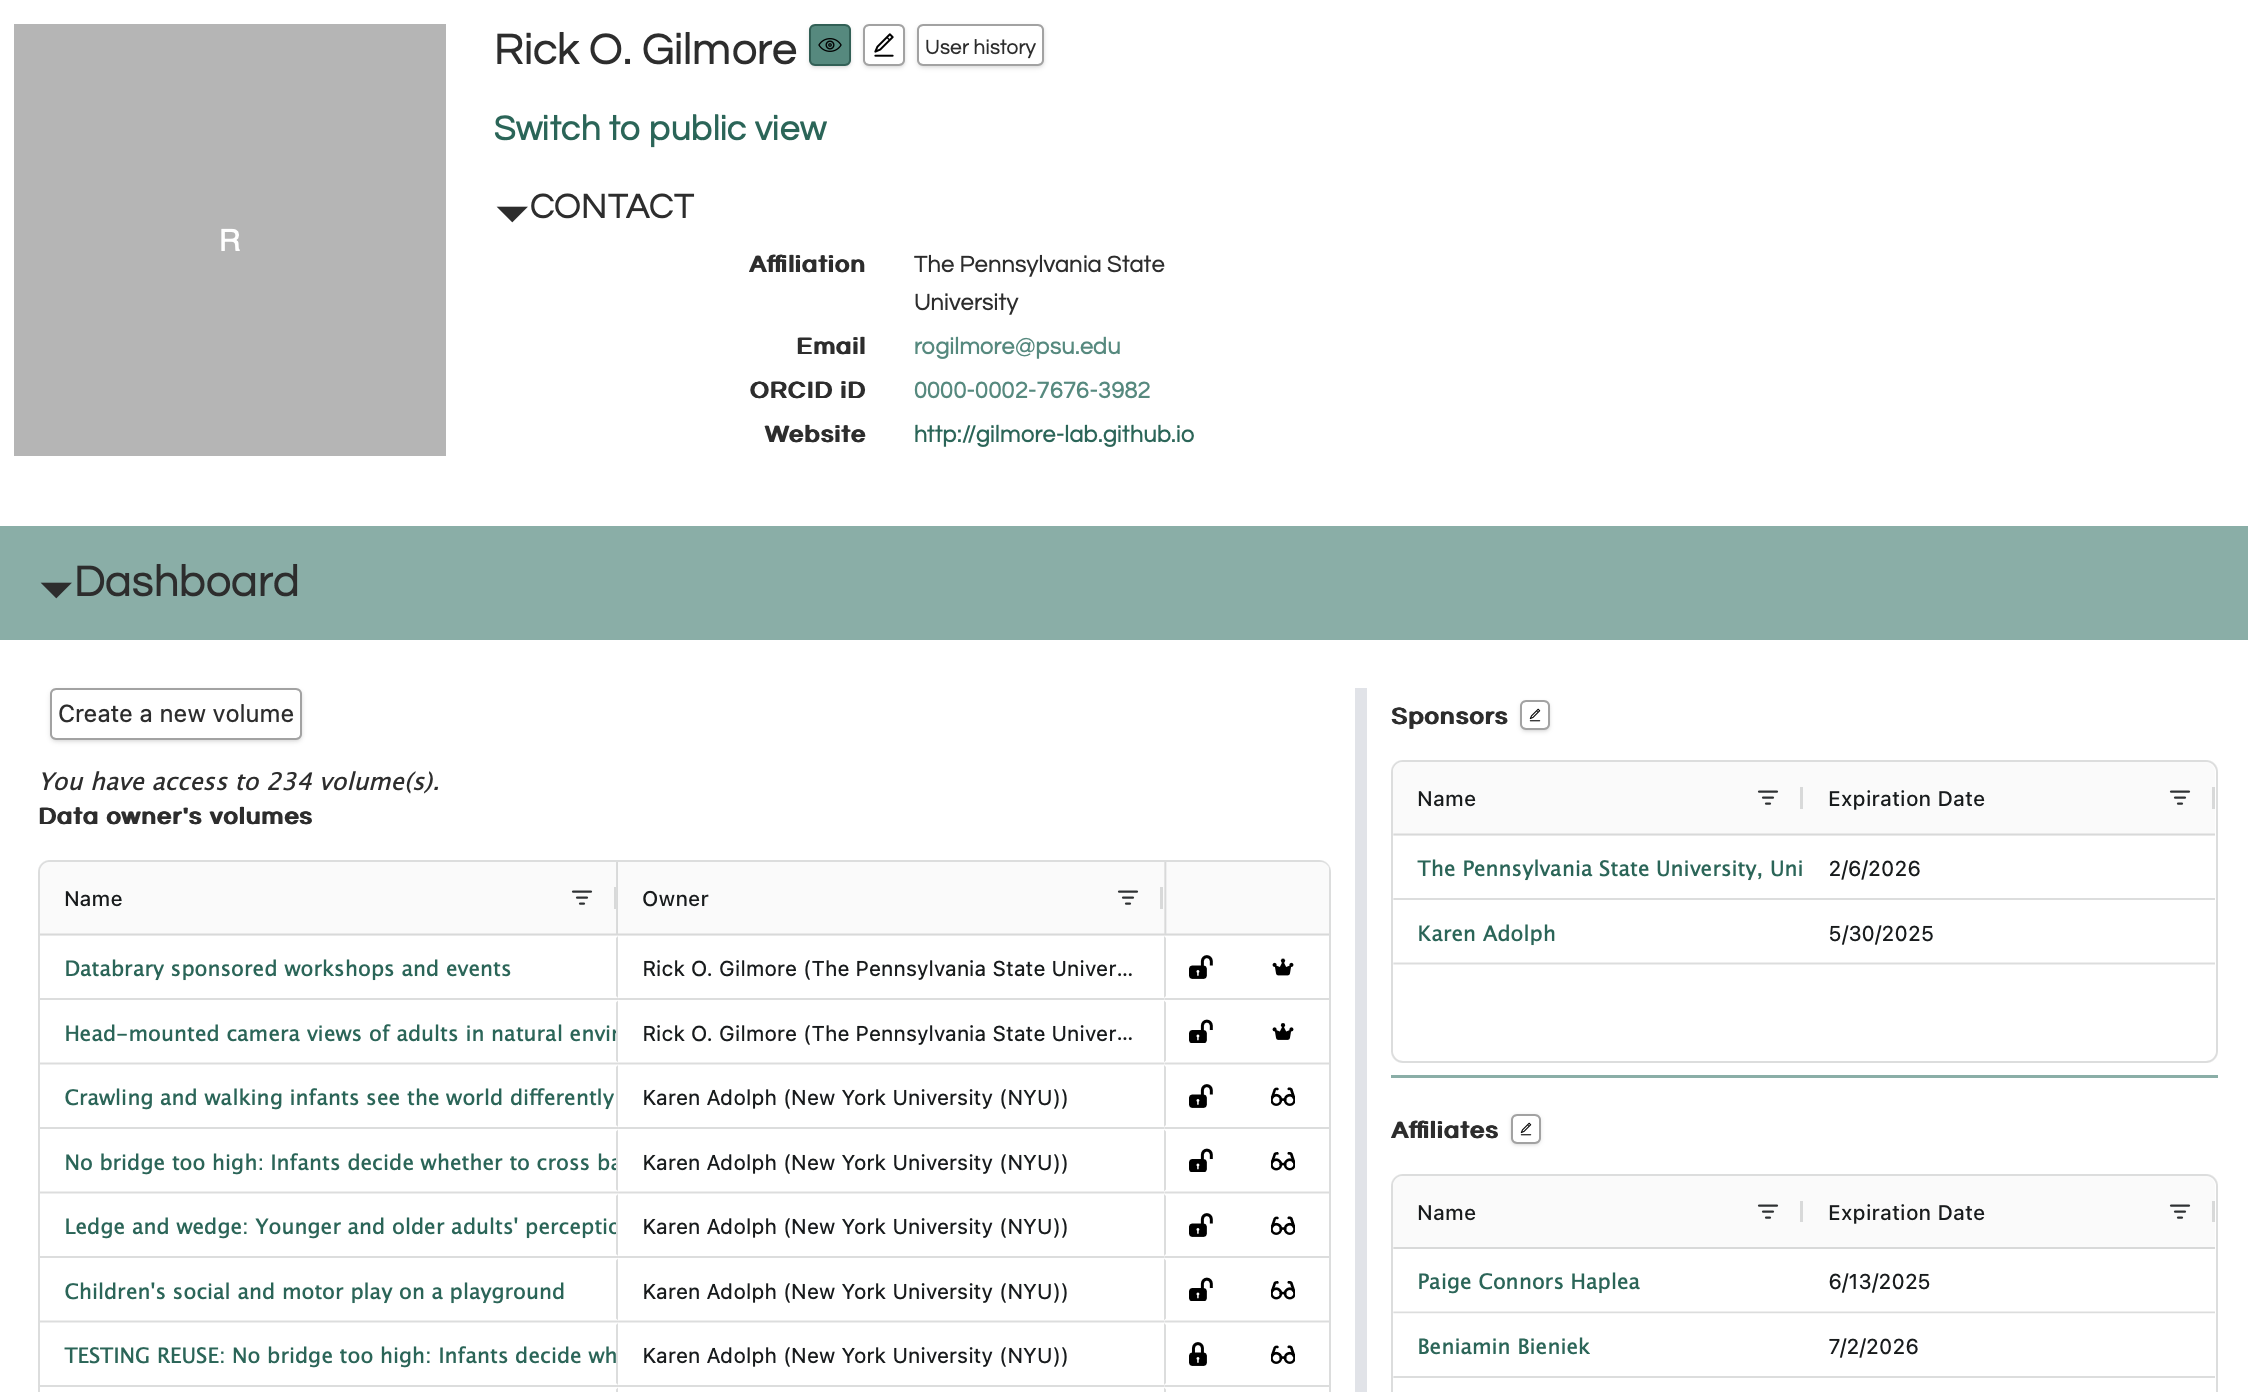
You will see a list of all volumes you have access to on the left, your sponsors (institutions or individual researchers) in the upper right, and your Affiliates in the lower right.
To search for a specific volume, click on the stacked-bar icon to the right of the “Name” in the volume table. This will bring up a search window that you can use to find or filter volumes.

You may also search for volumes by owner by clicking on the same icon in the “Owner” column (not shown).
To expand/condense the number of volume entries shown in the table, click on the number to the right of the “Page Size” label at the bottom of the volume table.

To view a volume, click on the volume name.

Volume ownership
Databrary 2.0 requires that volumes have a single owner. Only the owner can change the sharing status of a volume. Volume owners must be Authorized Investigators at an institution with an active Databrary Access Agreement. Volume owners may only transfer ownership to another Authorized Investigator.
To simplify the migration to Databrary 2.0, we selected a single volume owner model as previously there could be multiple owners (Investigators). If the volume owner wishes to transfer ownership, that person may do so.
To transfer ownership to another Authorized Investigator:
Visit the volume in question.
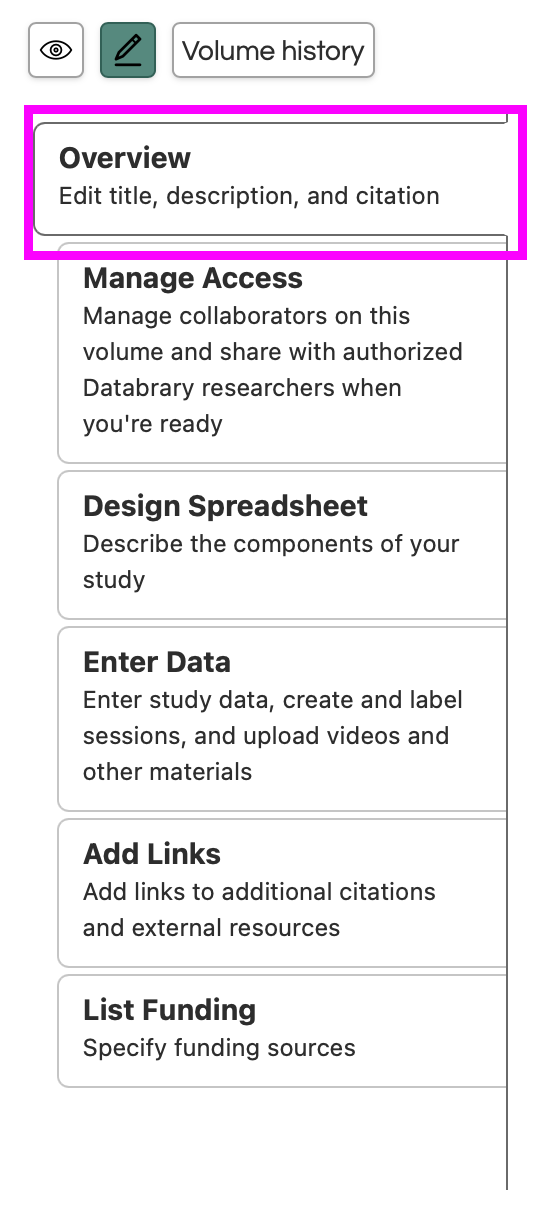
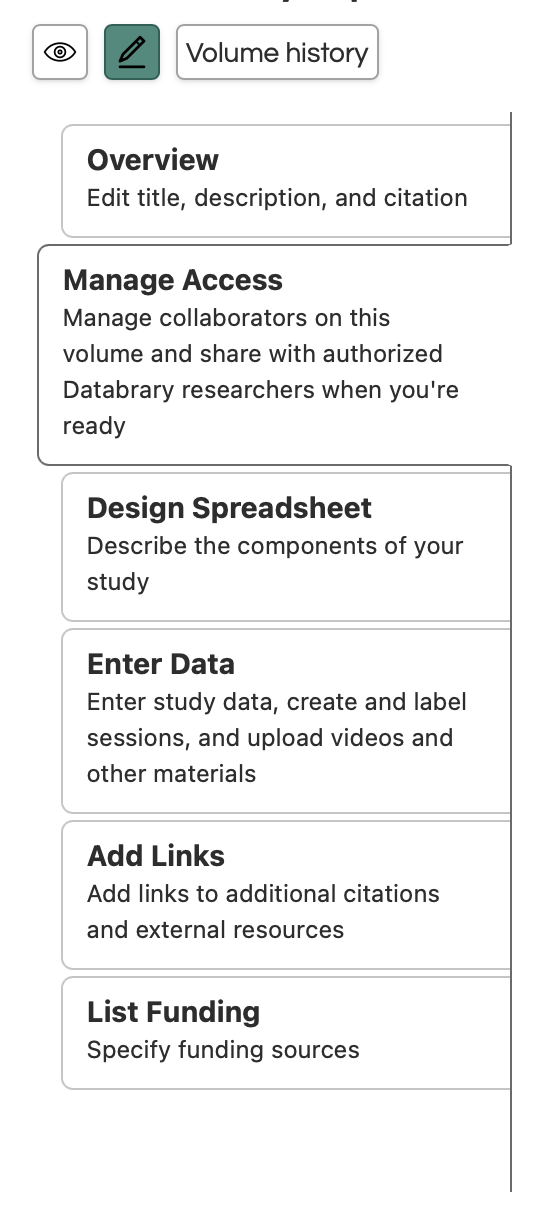
Press the edit (pencil) icon in the volume banner.

- Open the Manage Access panel at left by clicking on the tab.
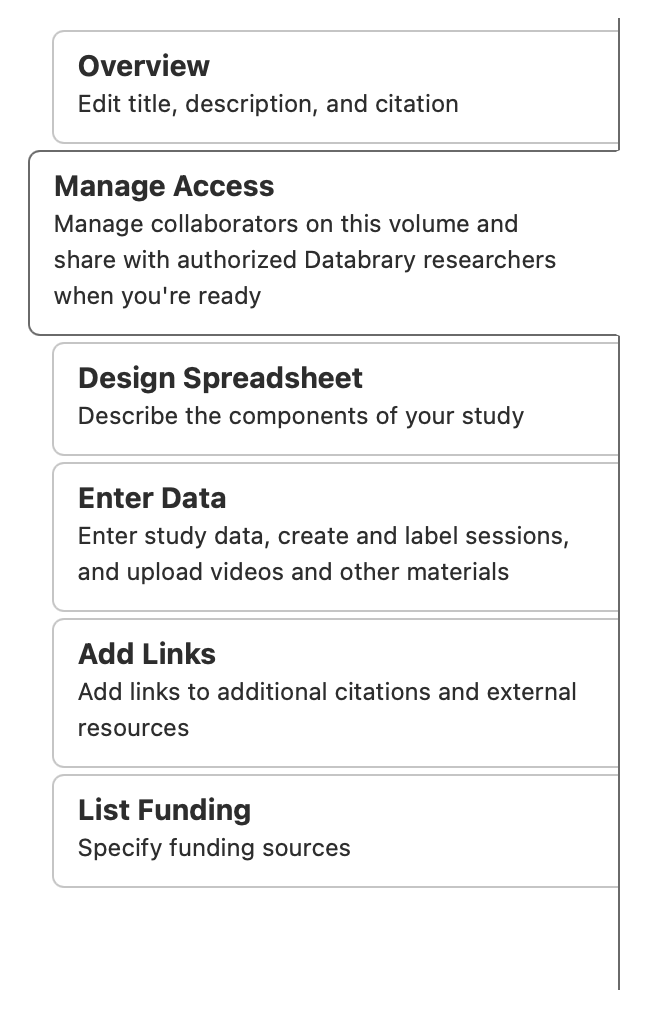
- Under the Owner section, press on the Transfer Ownership button.

- Search for the new volume owner by typing in the search box.

- Select the new owner from the list and press the Submit button at lower right.

The individual you select will receive a notification that you have requested to transfer ownership to them. They may accept or reject the request.
Uploading files
Early releases of Databrary 2.0 prohibited uploading files, but the system now supports file uploads through the web interface.
This section is still under construction.
We will be adding how-tos shortly.
Previewing files
You may preview and play video and audio files in Databrary 2.0.
Databrary 2.0 adds the ability to preview new file types, including csv and (coming soon!) PDF.
Downloading files
You may download files in Databrary 2.0 under the following conditions:
- The entire volume is shared AND the files have a Public sharing release level (
).
- The entire volume is shared AND the files are shared with a Learning Audiences (
) or Authorized User (
) sharing release level, AND you have privileges to access shared data on Databrary.
- The volume is Private (shared only with specific collaborators), the files are shared with any permission level, AND you have read privileges on the volume.
If you are an authorized user on Databrary but are not logged in, you may not create or download a zip archive. Members of the public who are not authorized users are also prohibited from creating and downloading zip archives.
Single files
As an example, let’s download a file from Volume 1 which is visible to the public.
- We navigate to https://databrary.org/volume/1.
- We scroll to the Materials section and select the folder labeled “Top-level Materials.”
- Click on the “View Details” icon (box with arrow pointing upper right).

- When the folder window opens, click on the download icon (down arrow) and select Download from the menu.
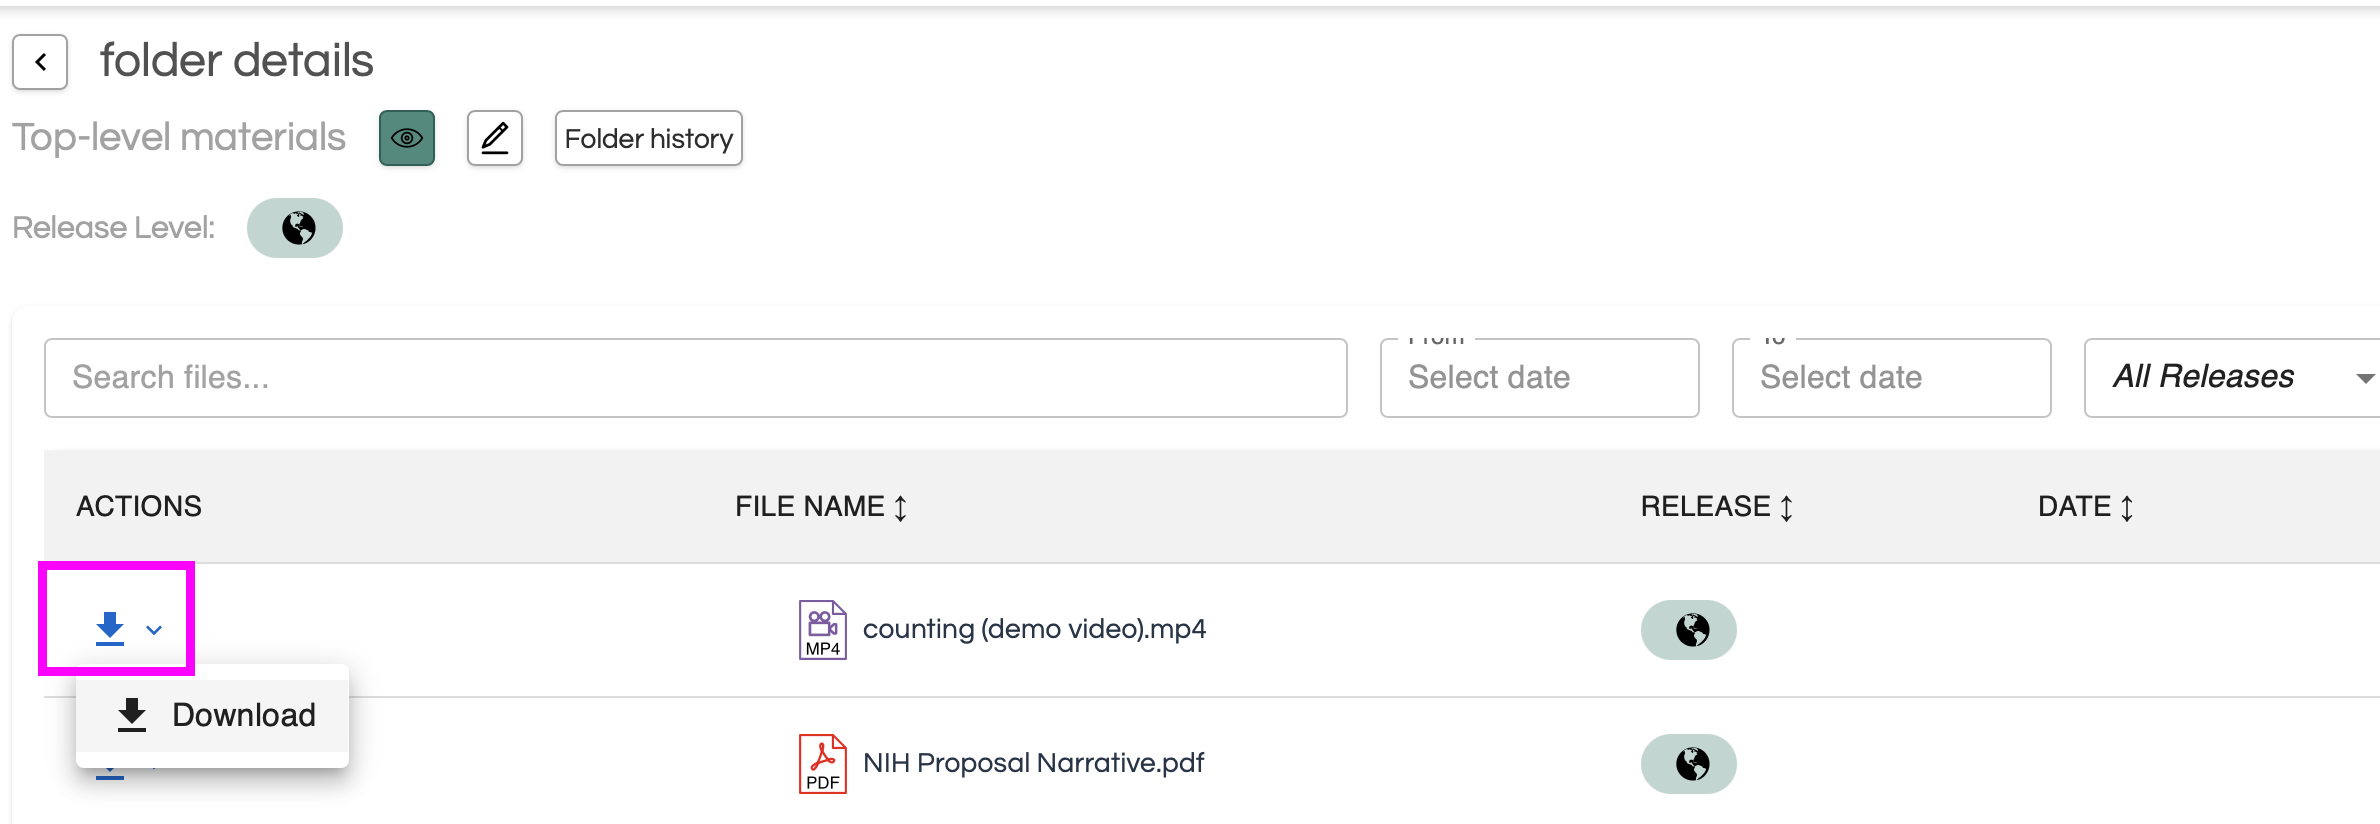
The short “counting_demo_video.mp4” file will download to the default download location for your browser. Depending on your configuration, the file may also automatically load for playback.
Zip archives
Logged-in users may generate a zip archive of a session or a volume.
Navigate to the main page for volume 1 (https://databrary.org/volume/1) and the volume materials section at the bottom (see Figure 17).
To download the entire materials session, select “Top-level materials” and click on the “Download Options” icon (down arrow; magenta box in Figure 19).
To download the entire volume, click on the “Download all as ZIP” button (cyan box in Figure 19).

A notification window will appear in the bottom of your browser.

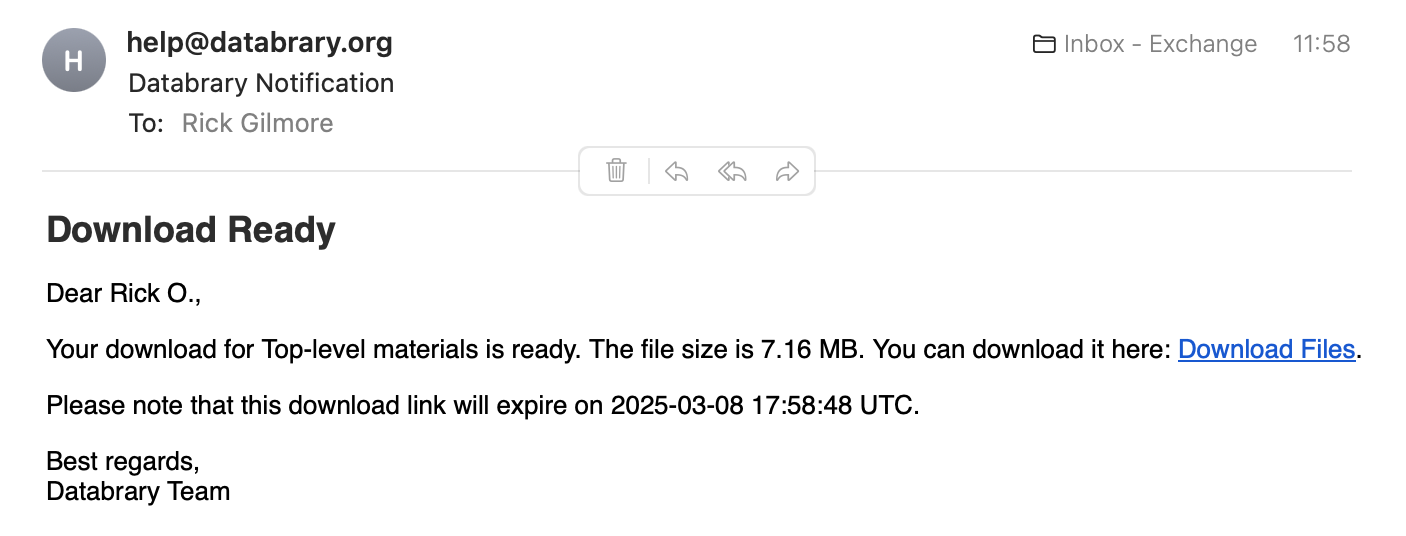
You will receive an email from “help@databrary.org” when your archive is ready to download.
Managing access to data
Managing affiliates
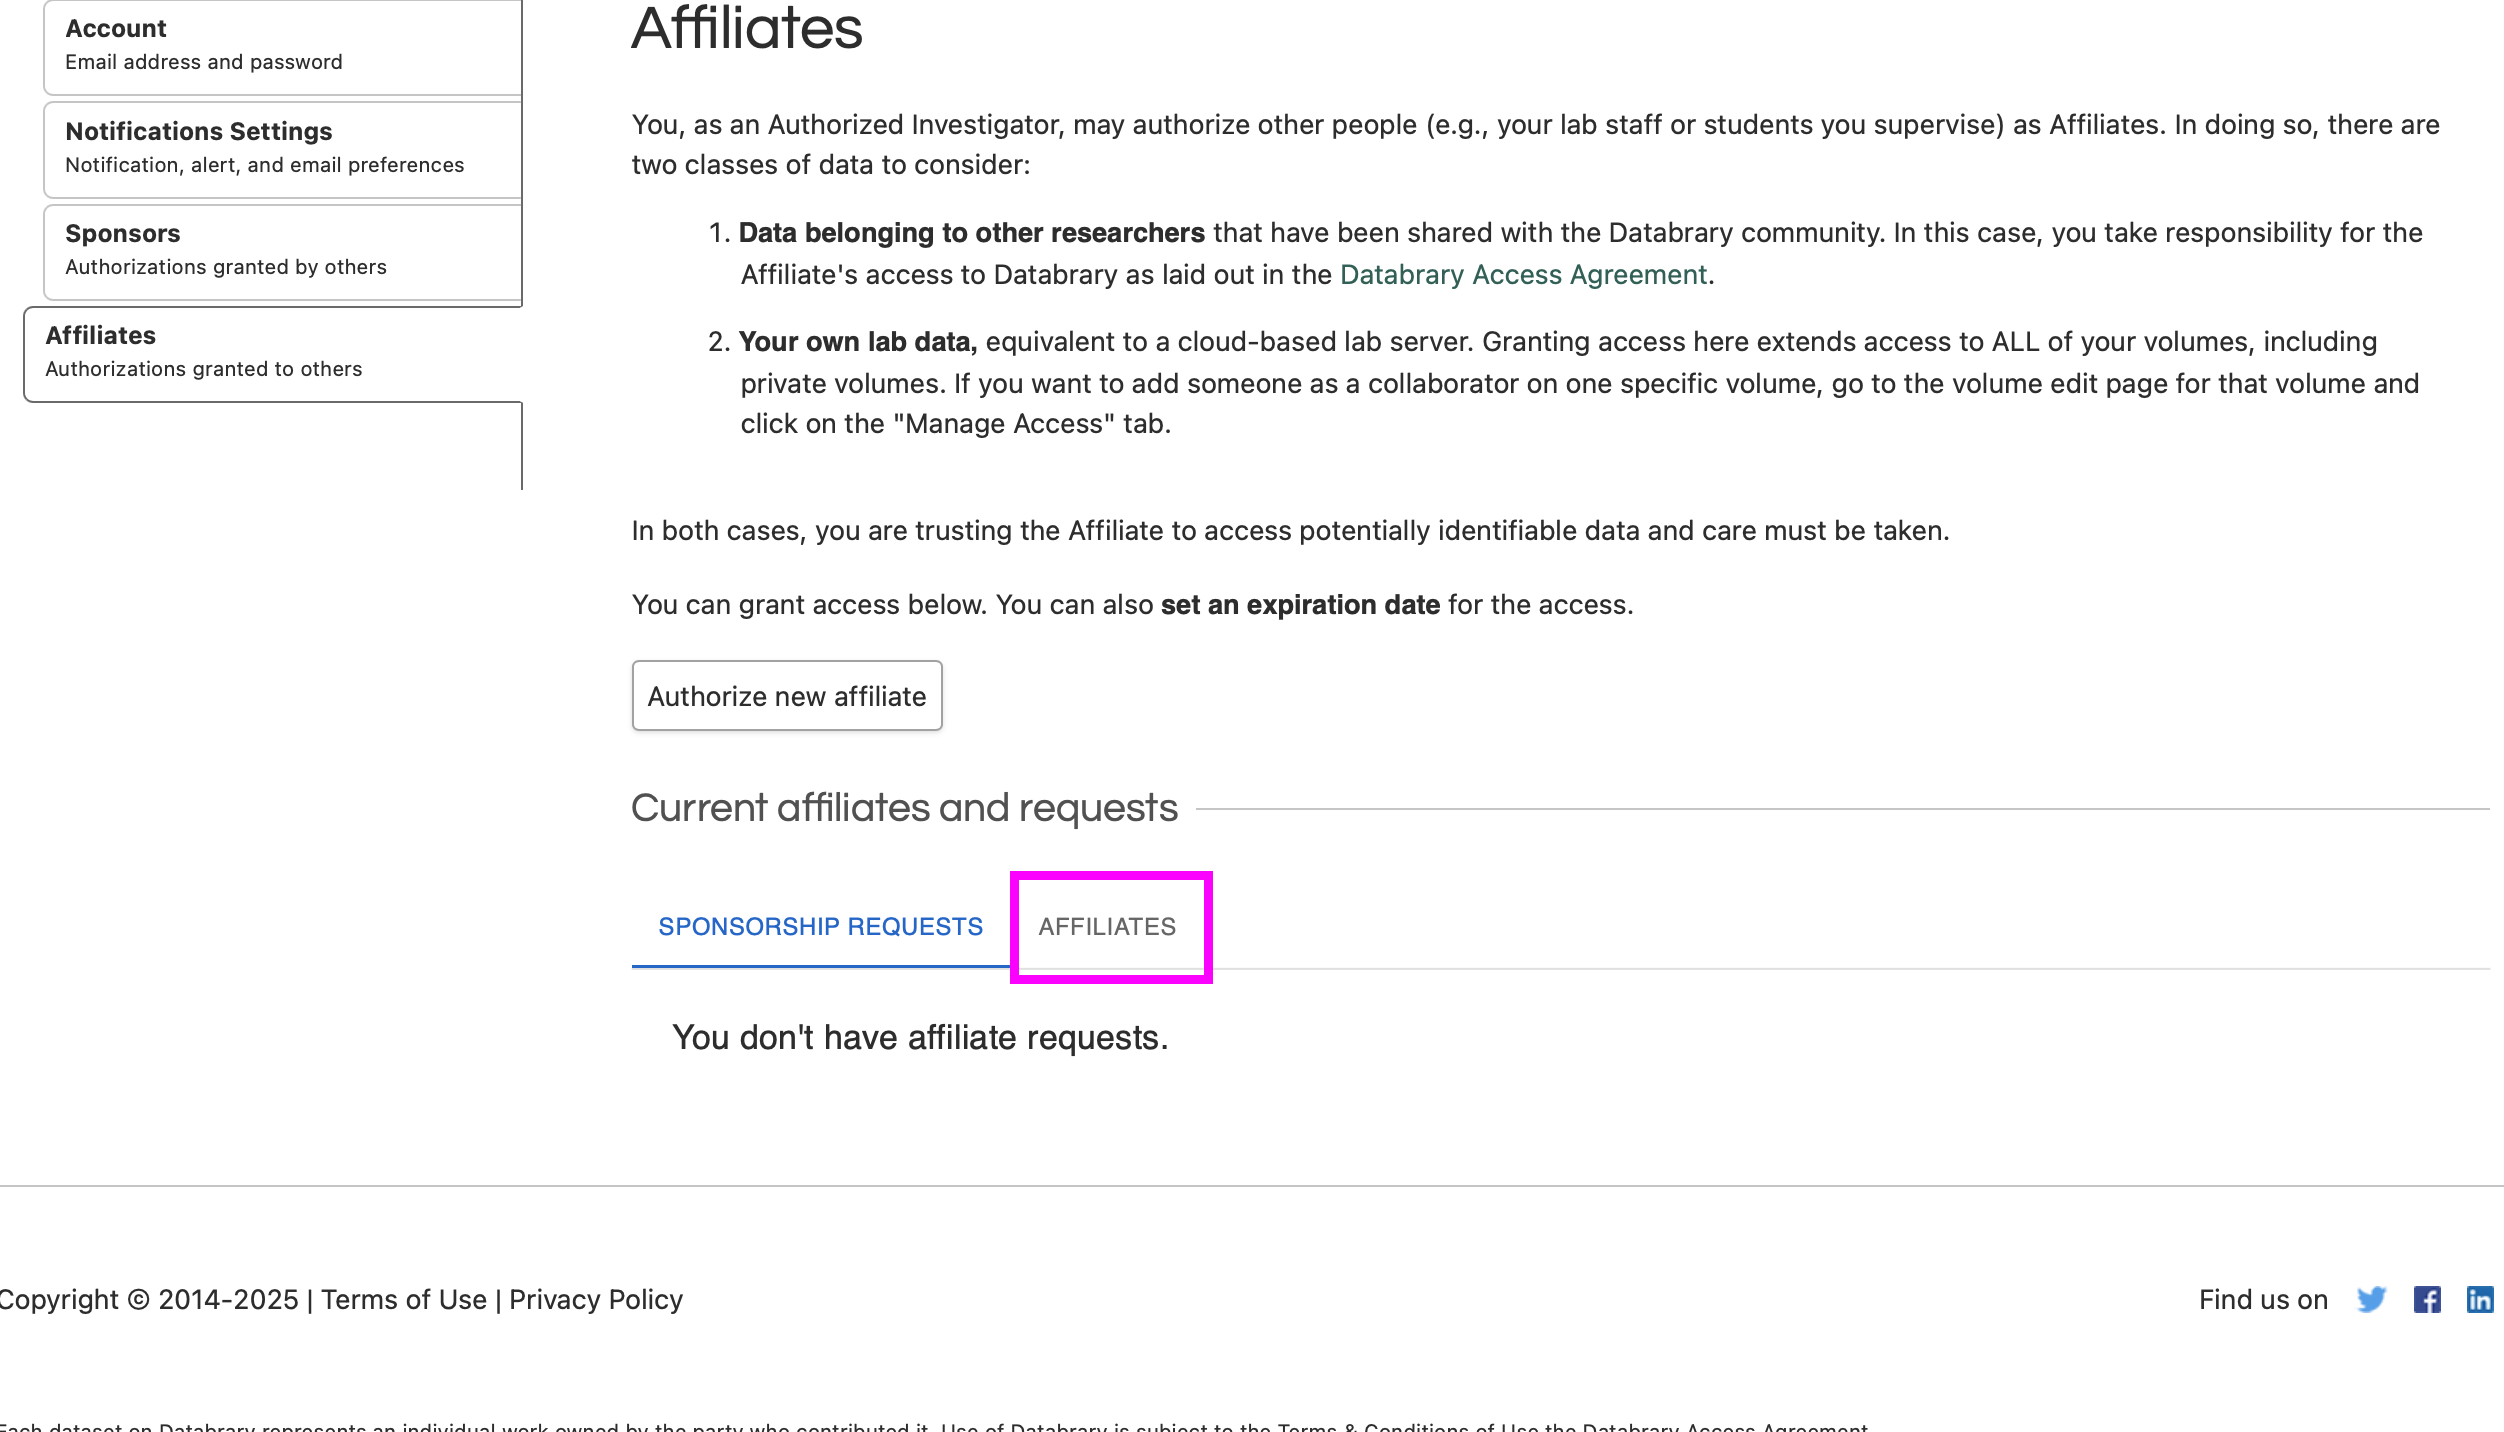
As an Authorized Investigator, you must log in to Databrary and visit your profile page to manage your Affiliates.
Remember that Authorized Investigators differ from Affiliate researchers.
Authorized Investigators are authorized by an institution to create volumes on Databrary, download shared data, and give access to data to their staff, students, or postdocs. If a researcher meets the qualifications for getting authorized through their institution, they should secure that authorization.
Affiliates have access to Databrary only through the sponsorship of an Authorized Investigator.
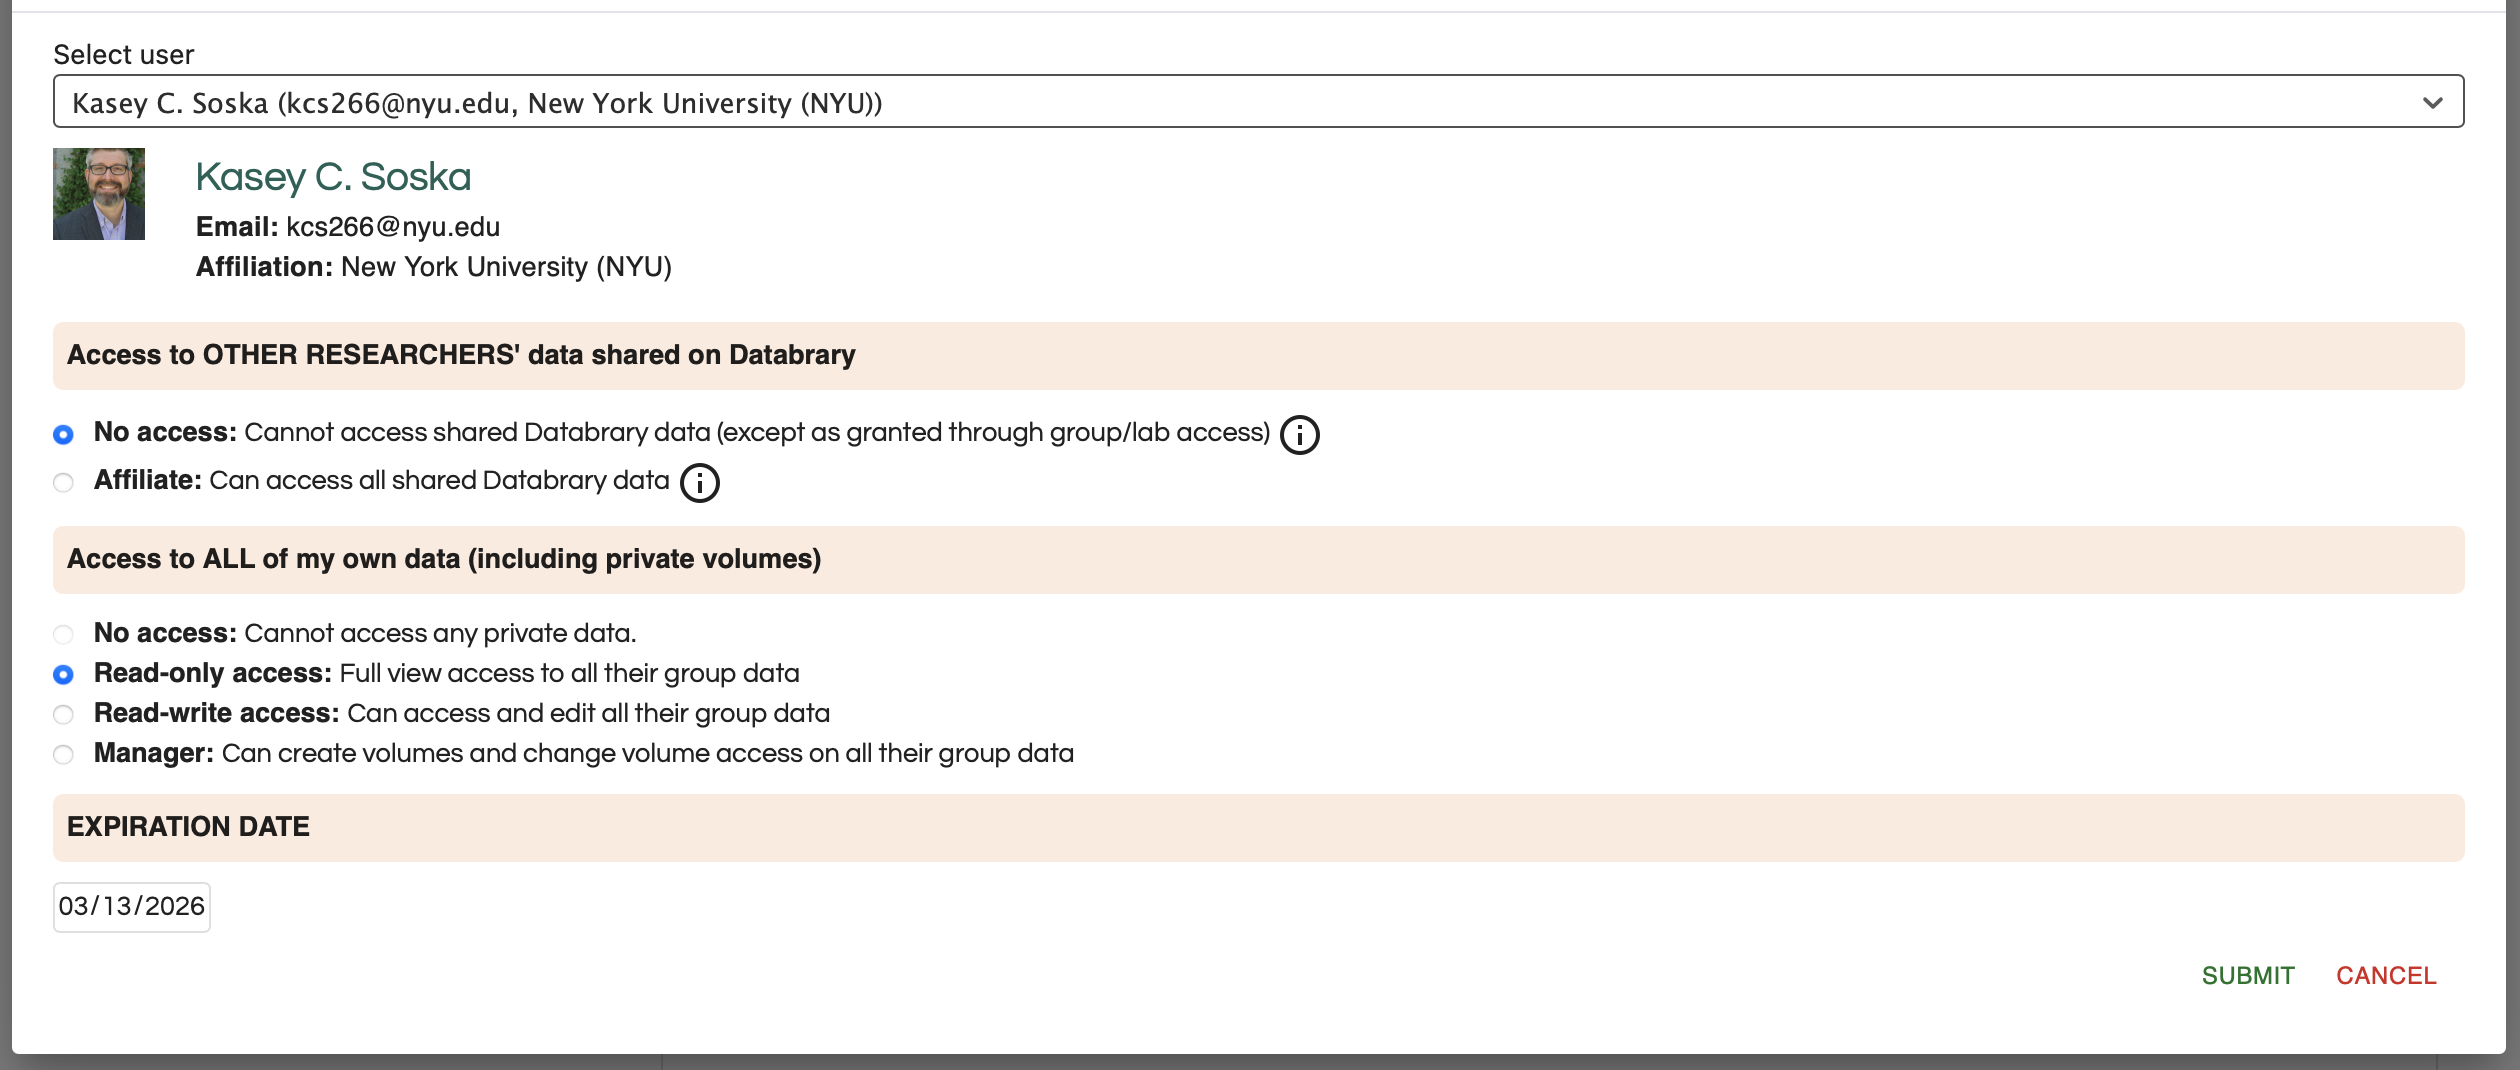
Note: Databrary 1.0 permitted some Affiliates to be granted access without a direct sponsorship by a specific Authorized Investigator. Individuals who previously had read/write access to some of your volumes may no longer have that access in Databrary 2.0. To grant these individuals access, you must specifically (re)authorize them as your Affiliate.
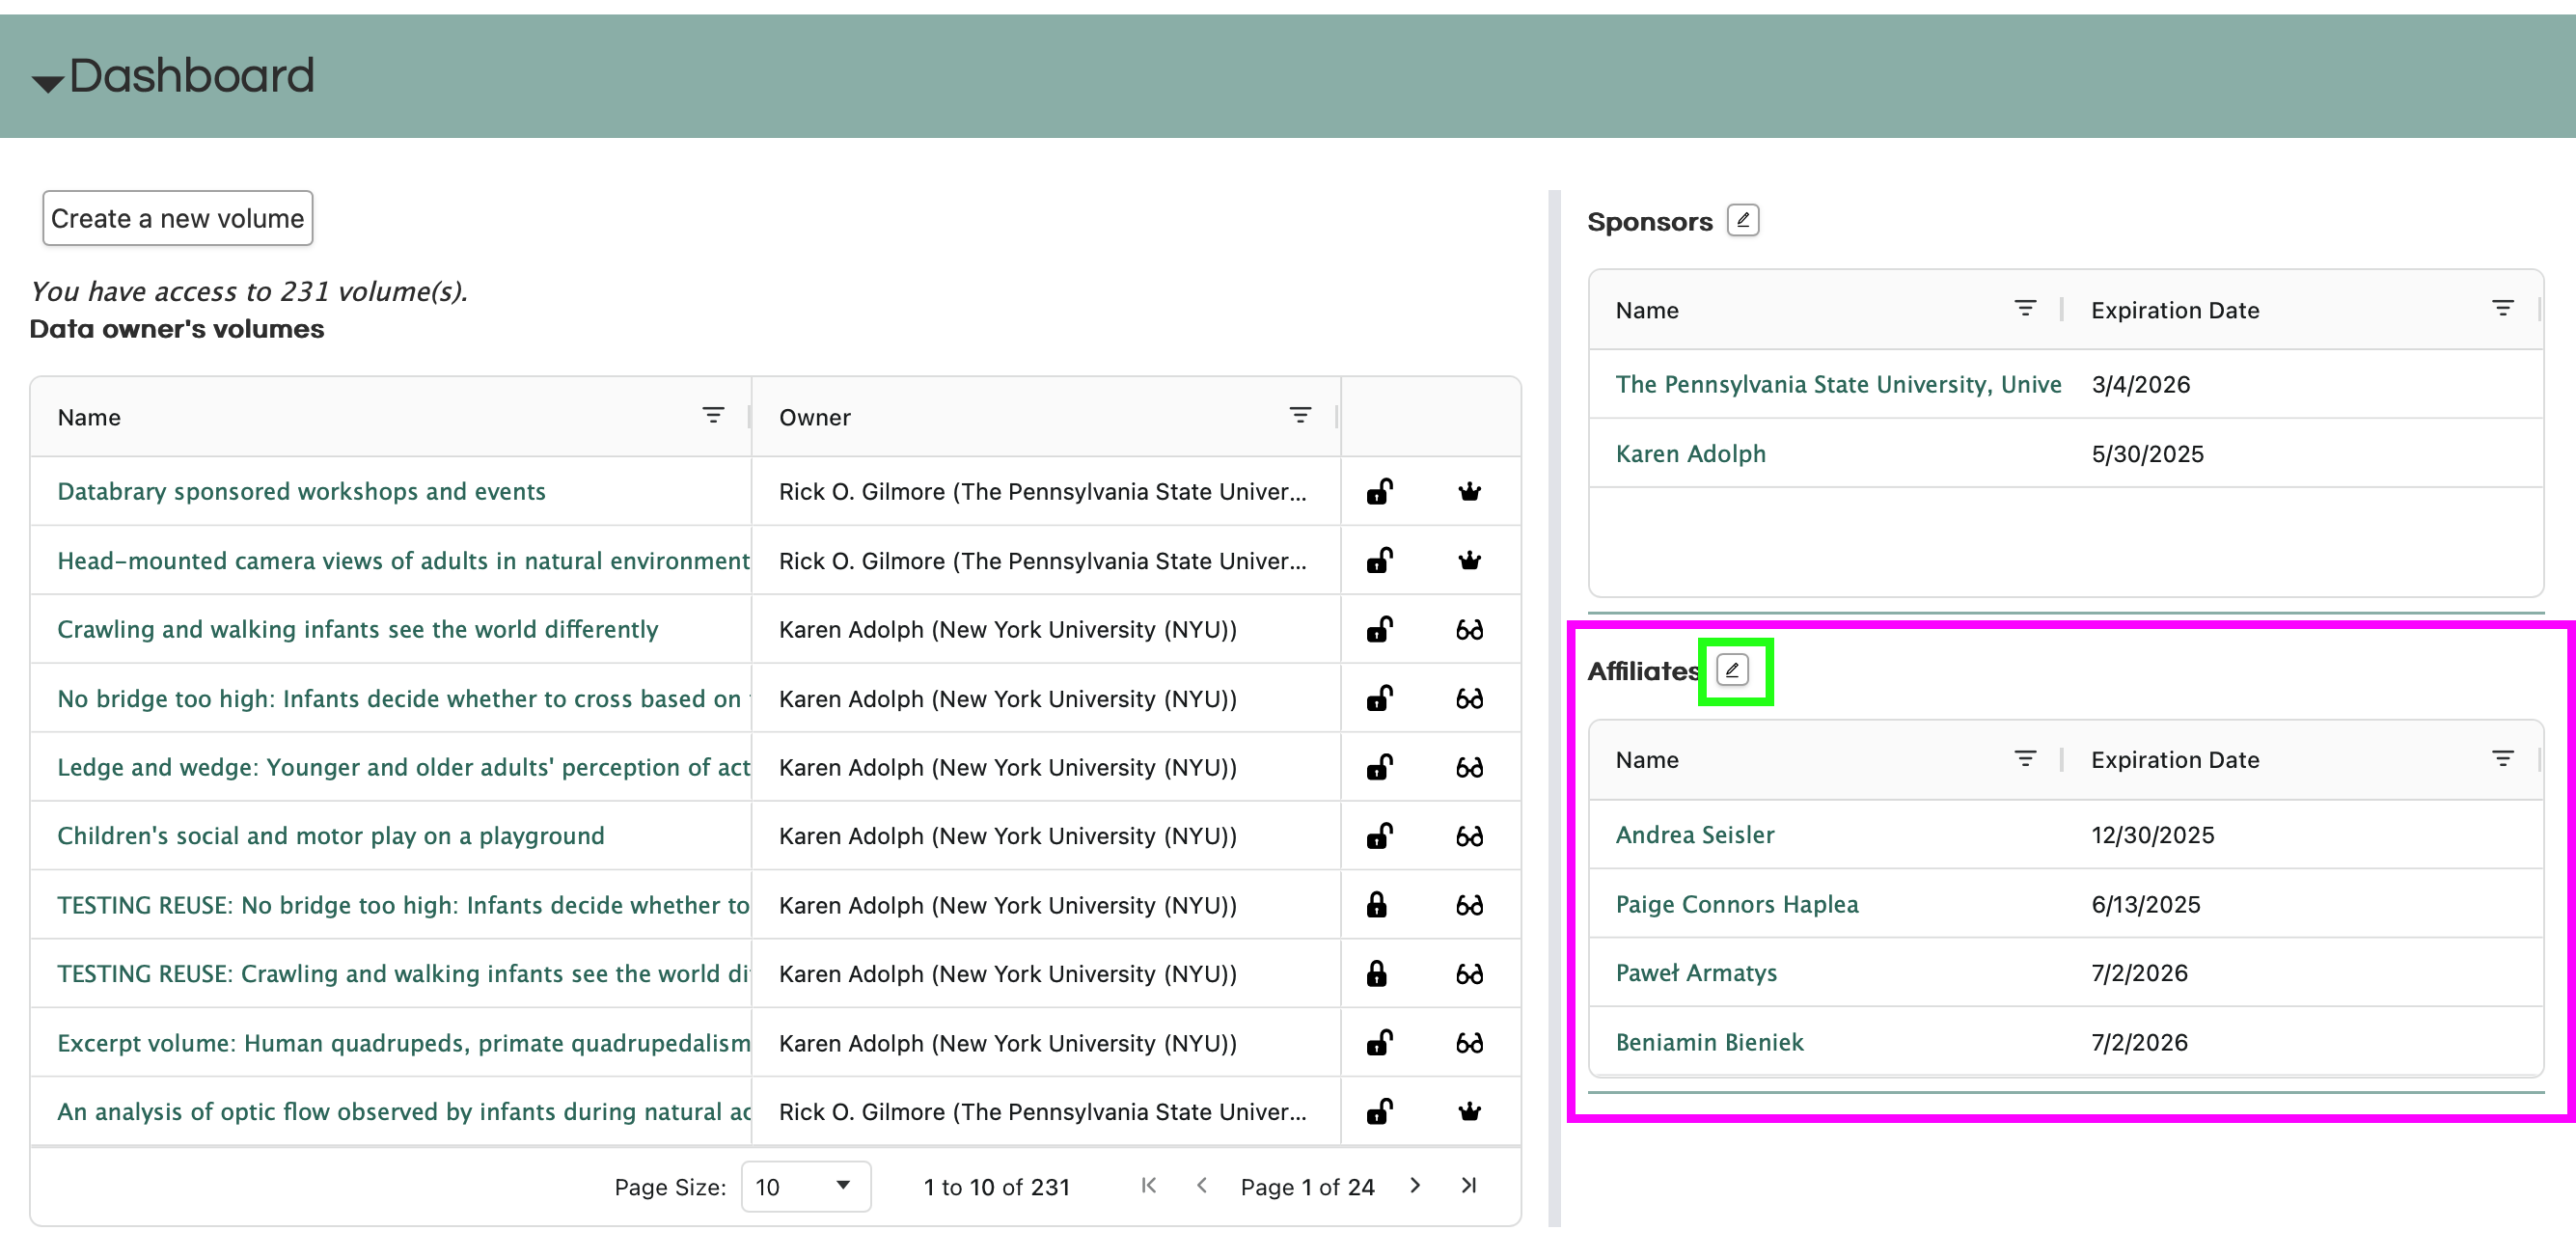
As shown in Figure 22, the Affiliate panel is in the lower right (magenta highlighting). Press the edit (pencil icon; green highlighting) button to edit your affiliates.
Editing an existing affiliate
The process for editing an existing Affiliate’s privileges is nearly identical.
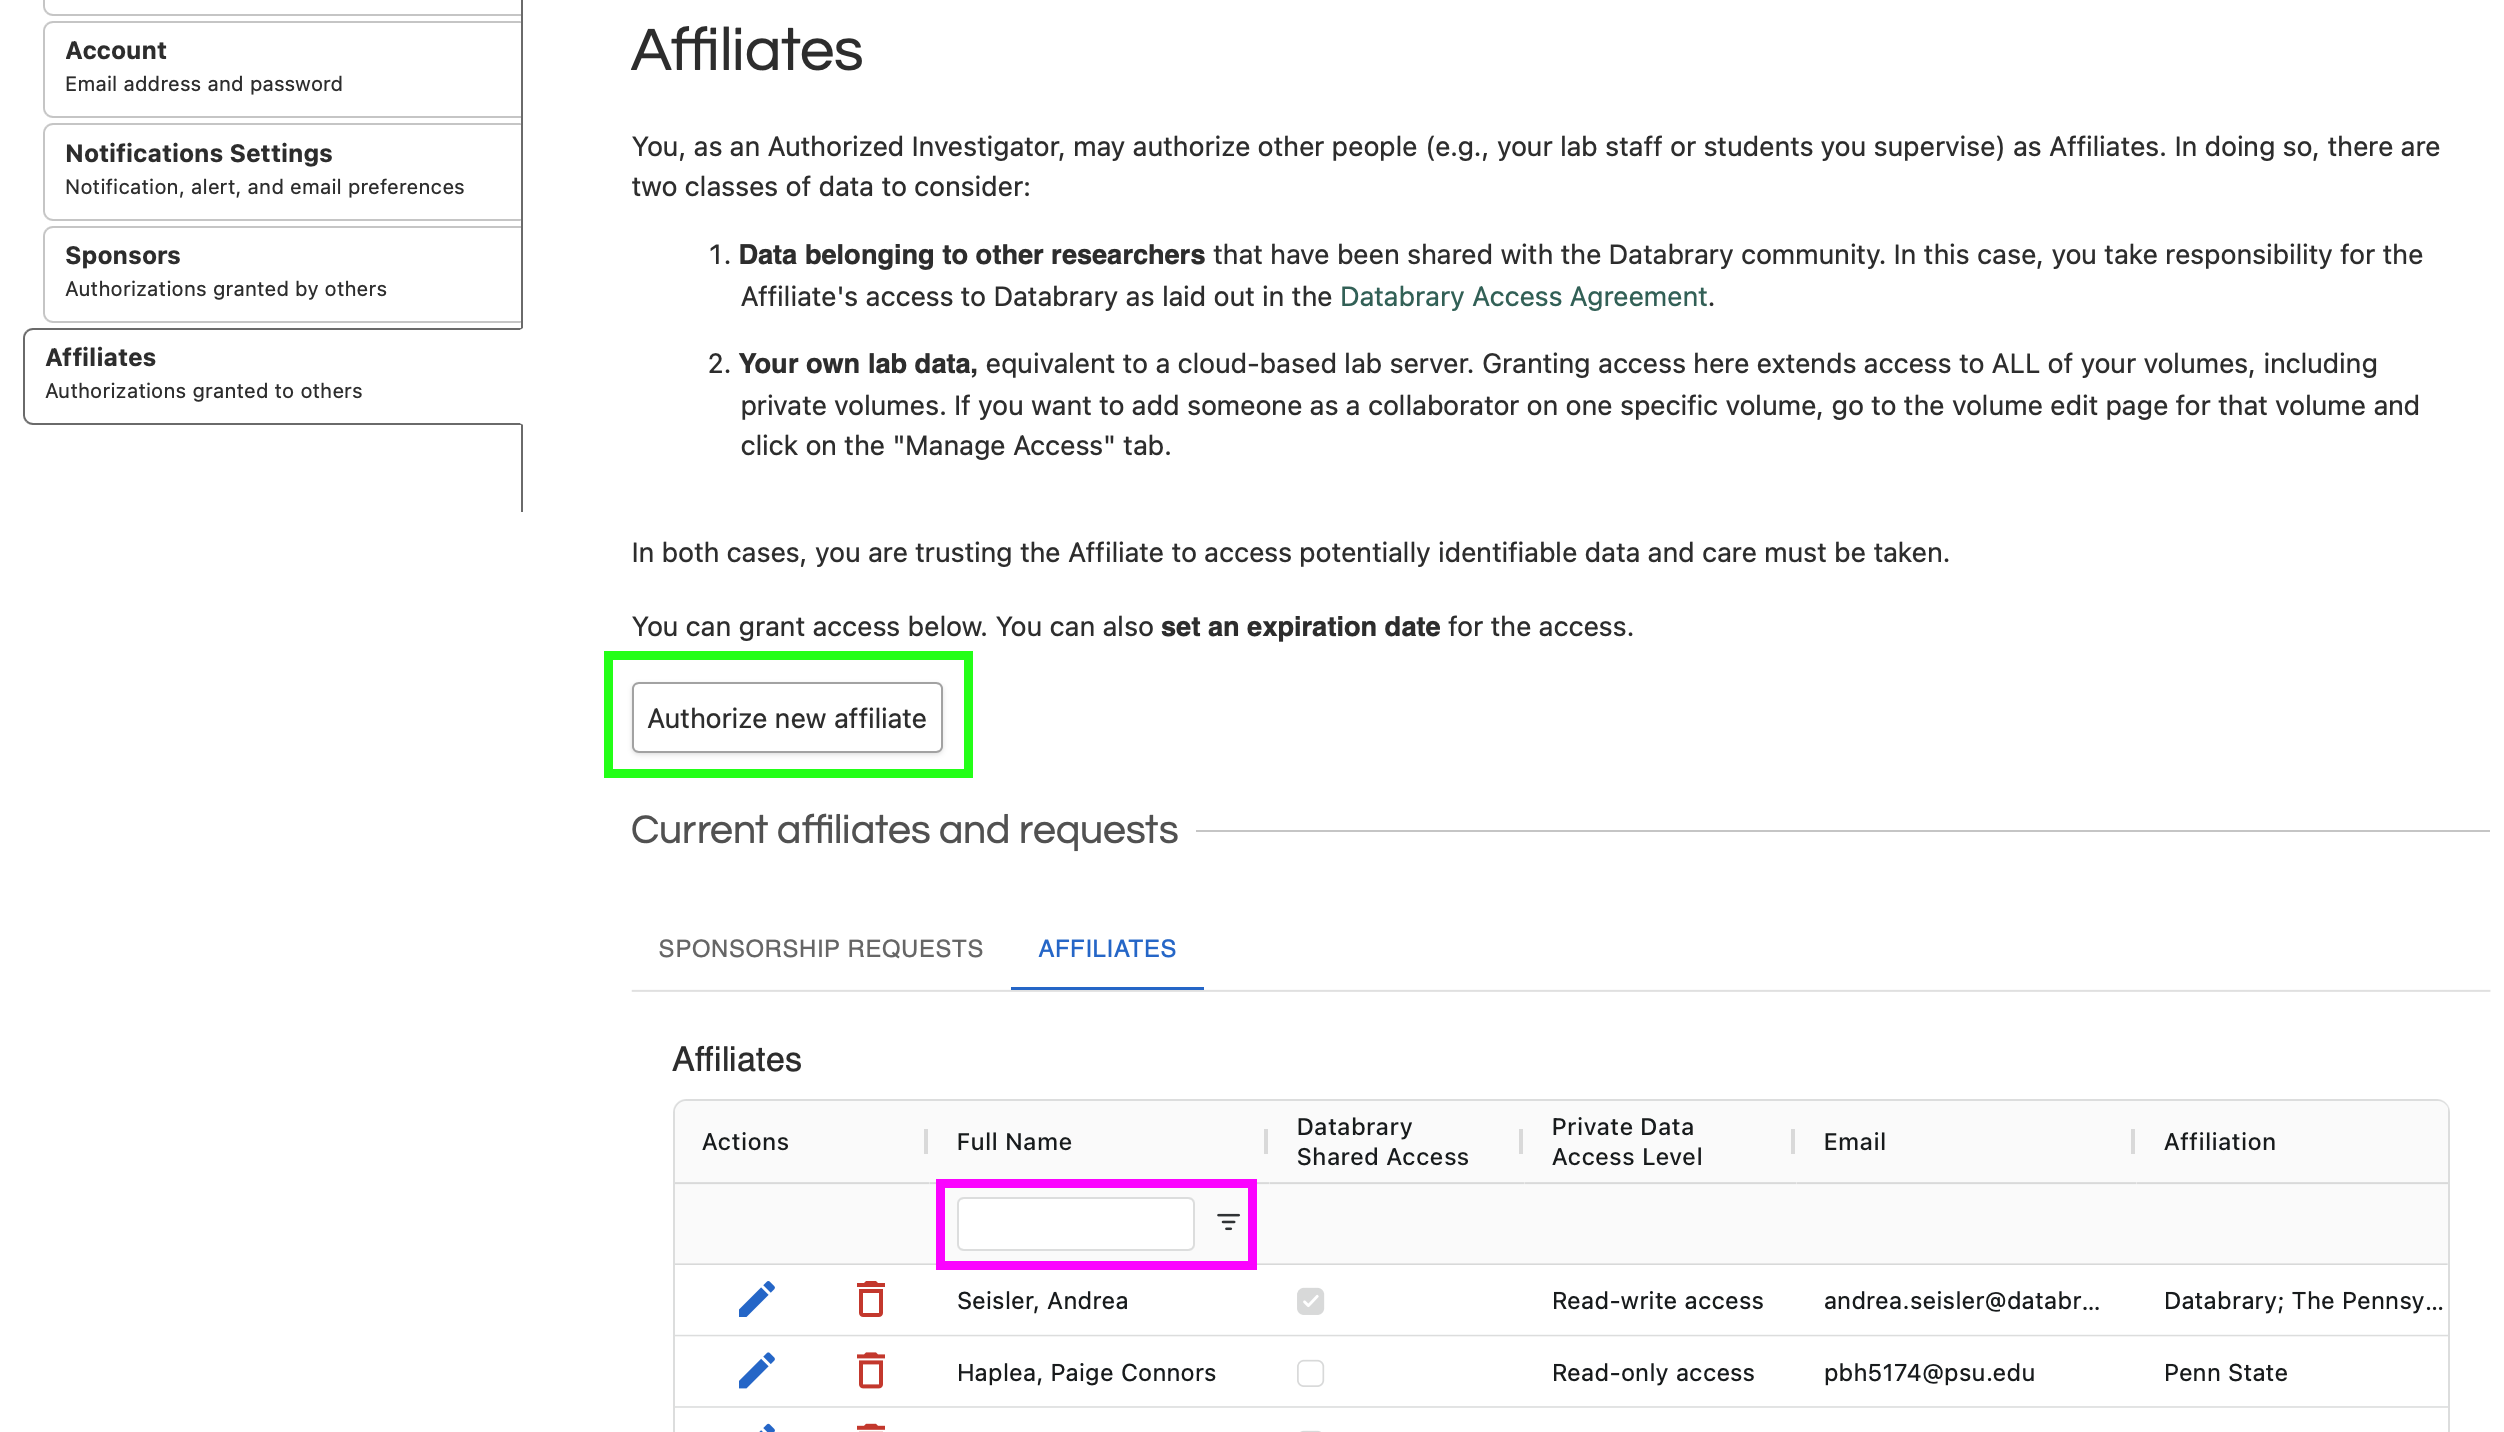
- From your profile page (Figure 22), press the edit (pencil icon; green highlight) in the the Affiliate panel.
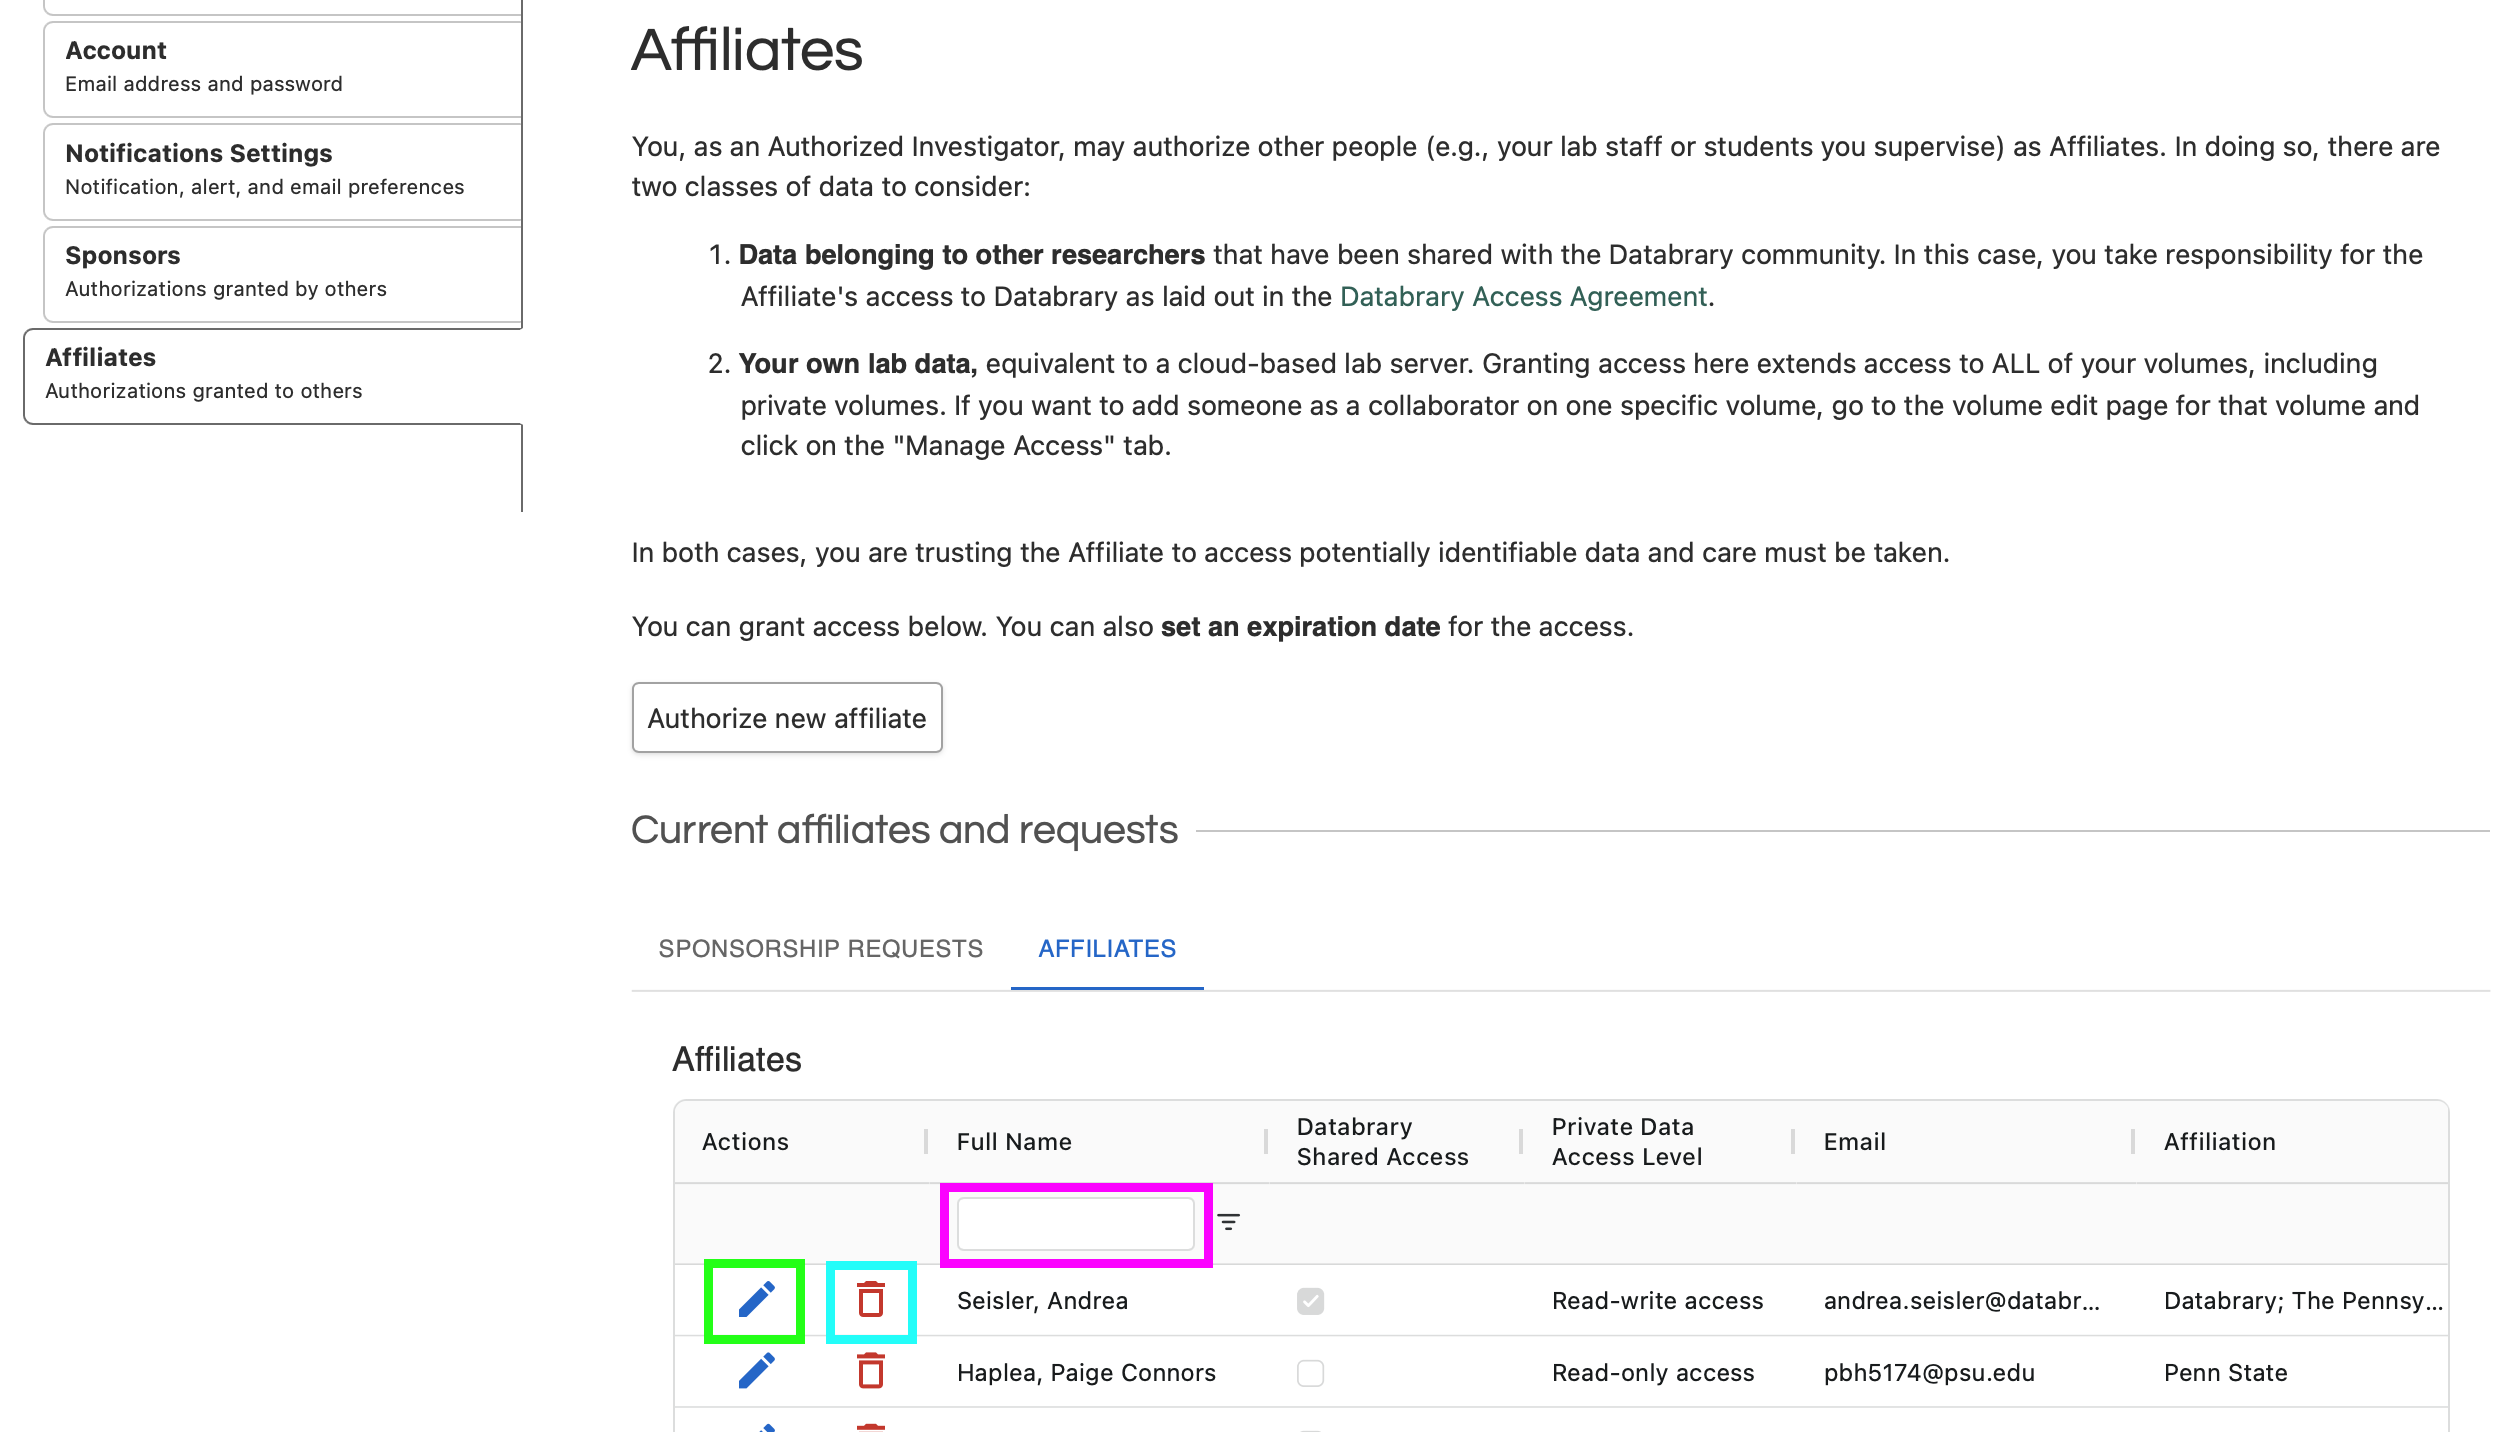
Find the Affiliate you wish to edit using the search window (Figure 27, magenta highlight) or by scrolling through the table of currently authorized Affiliates.
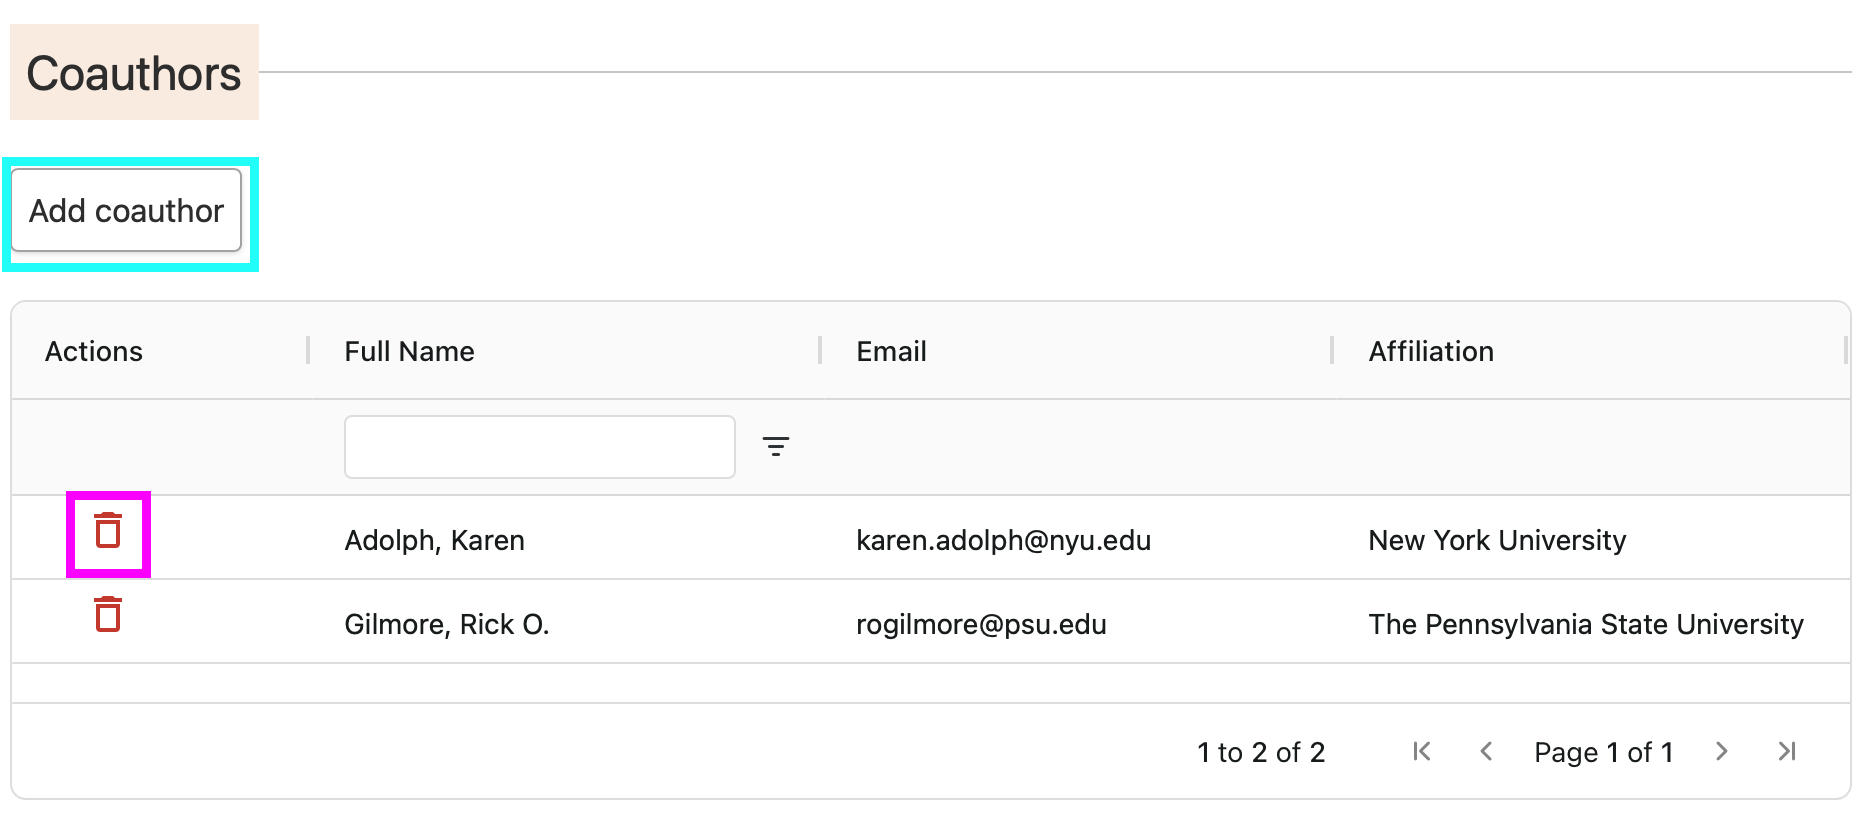
Edit the Affiliate by clicking on the pencil icon (green highlight) or delete the Affiliate by clicking on the trash can icon (cyan highlight).
Managing collaborators on a volume
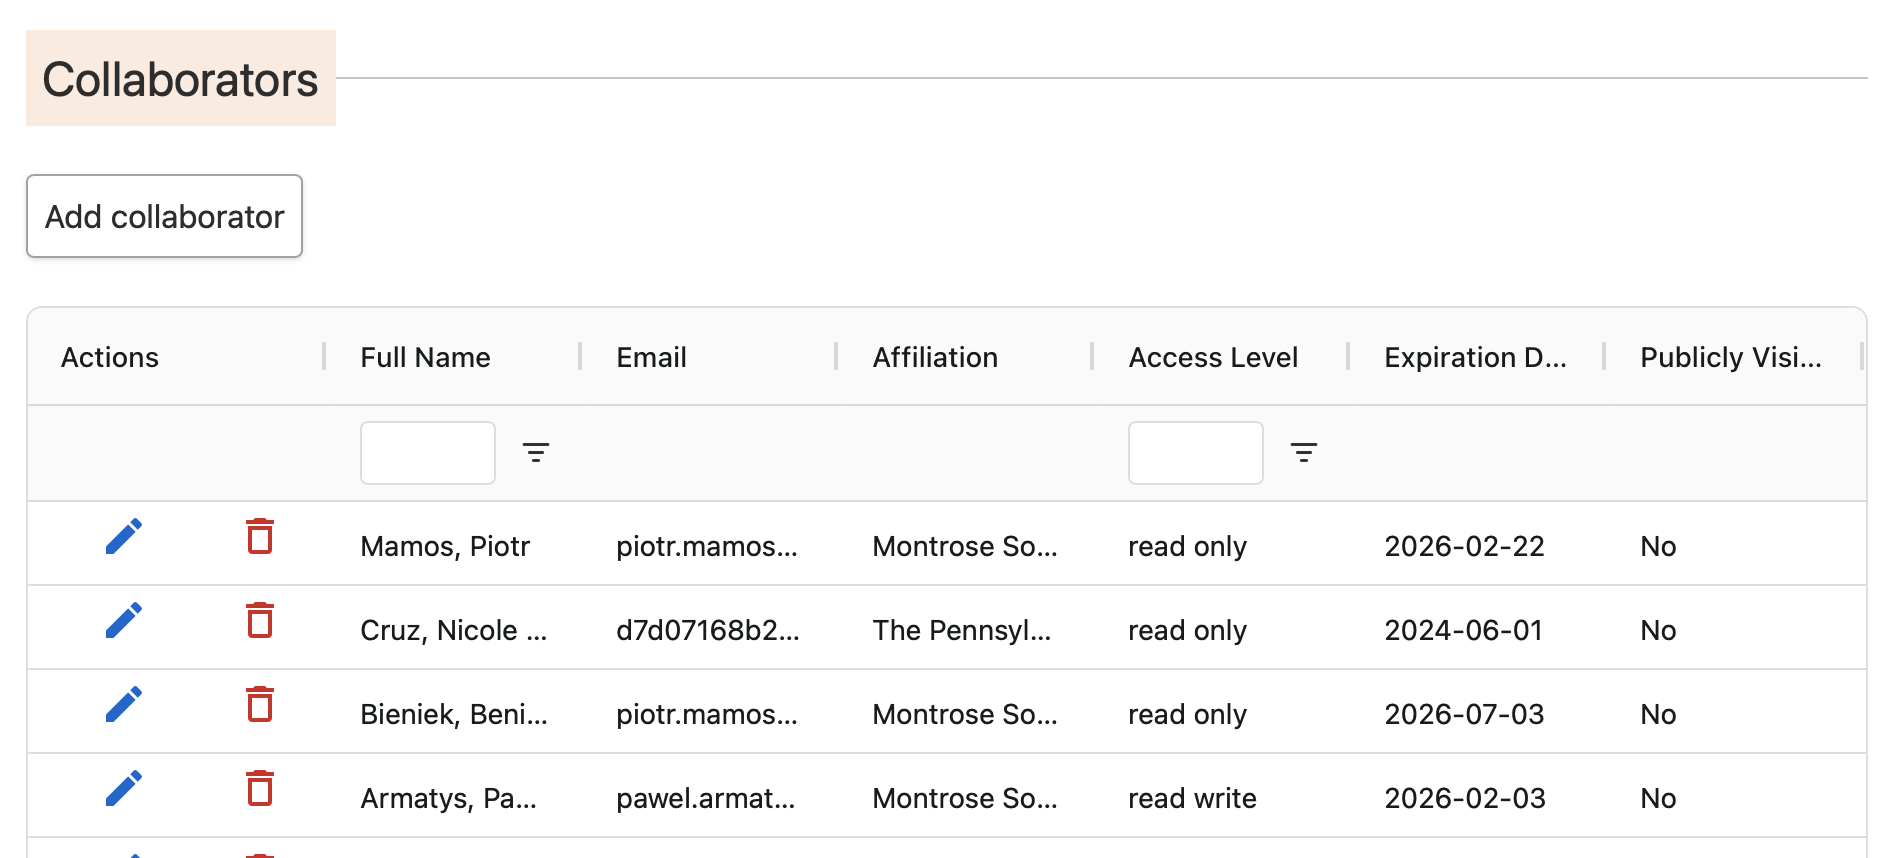
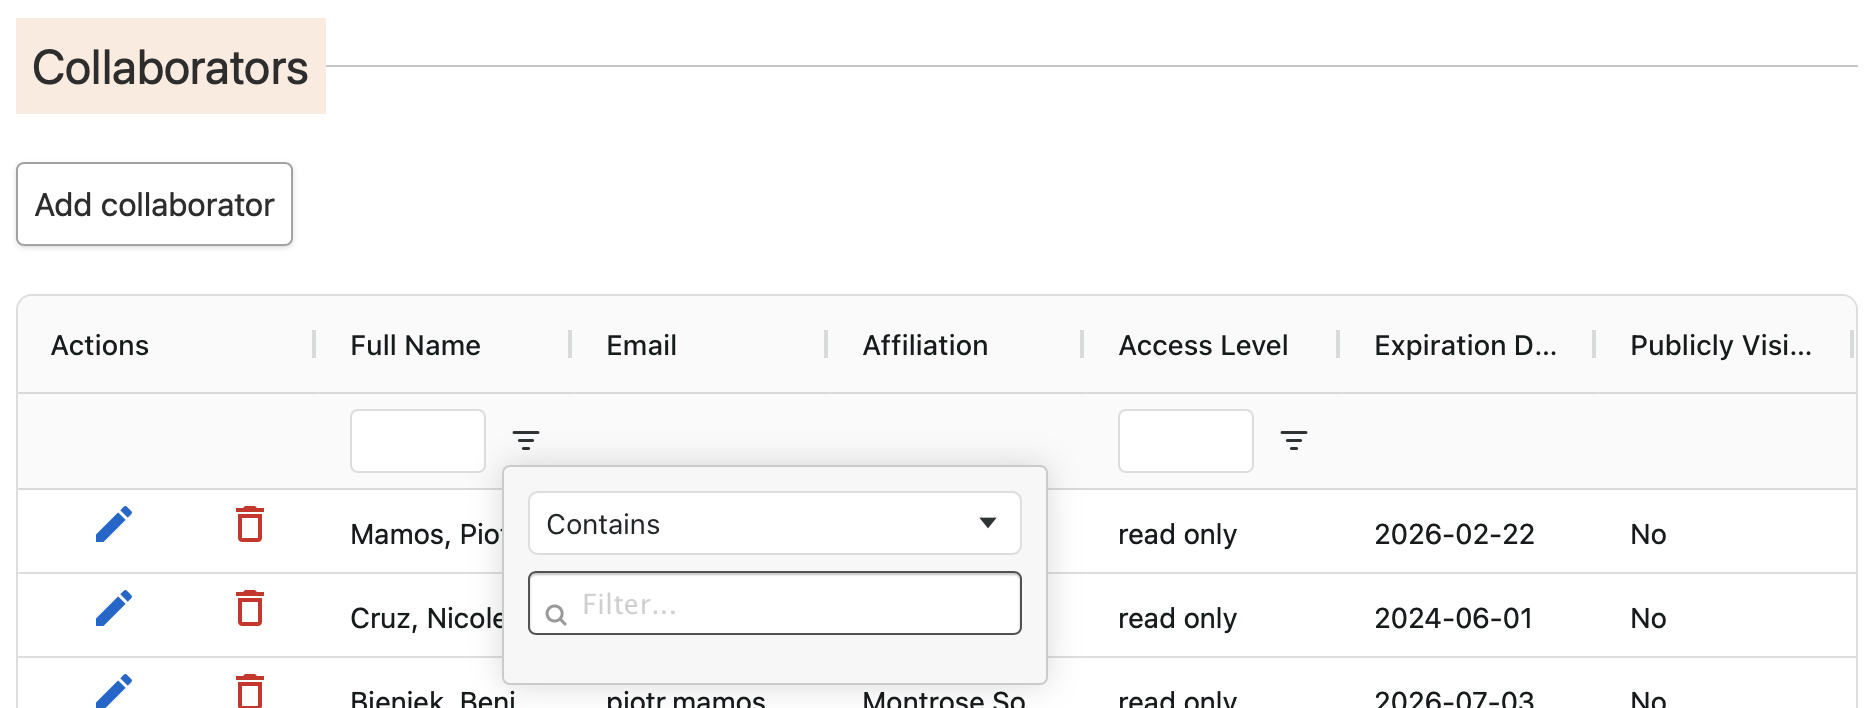
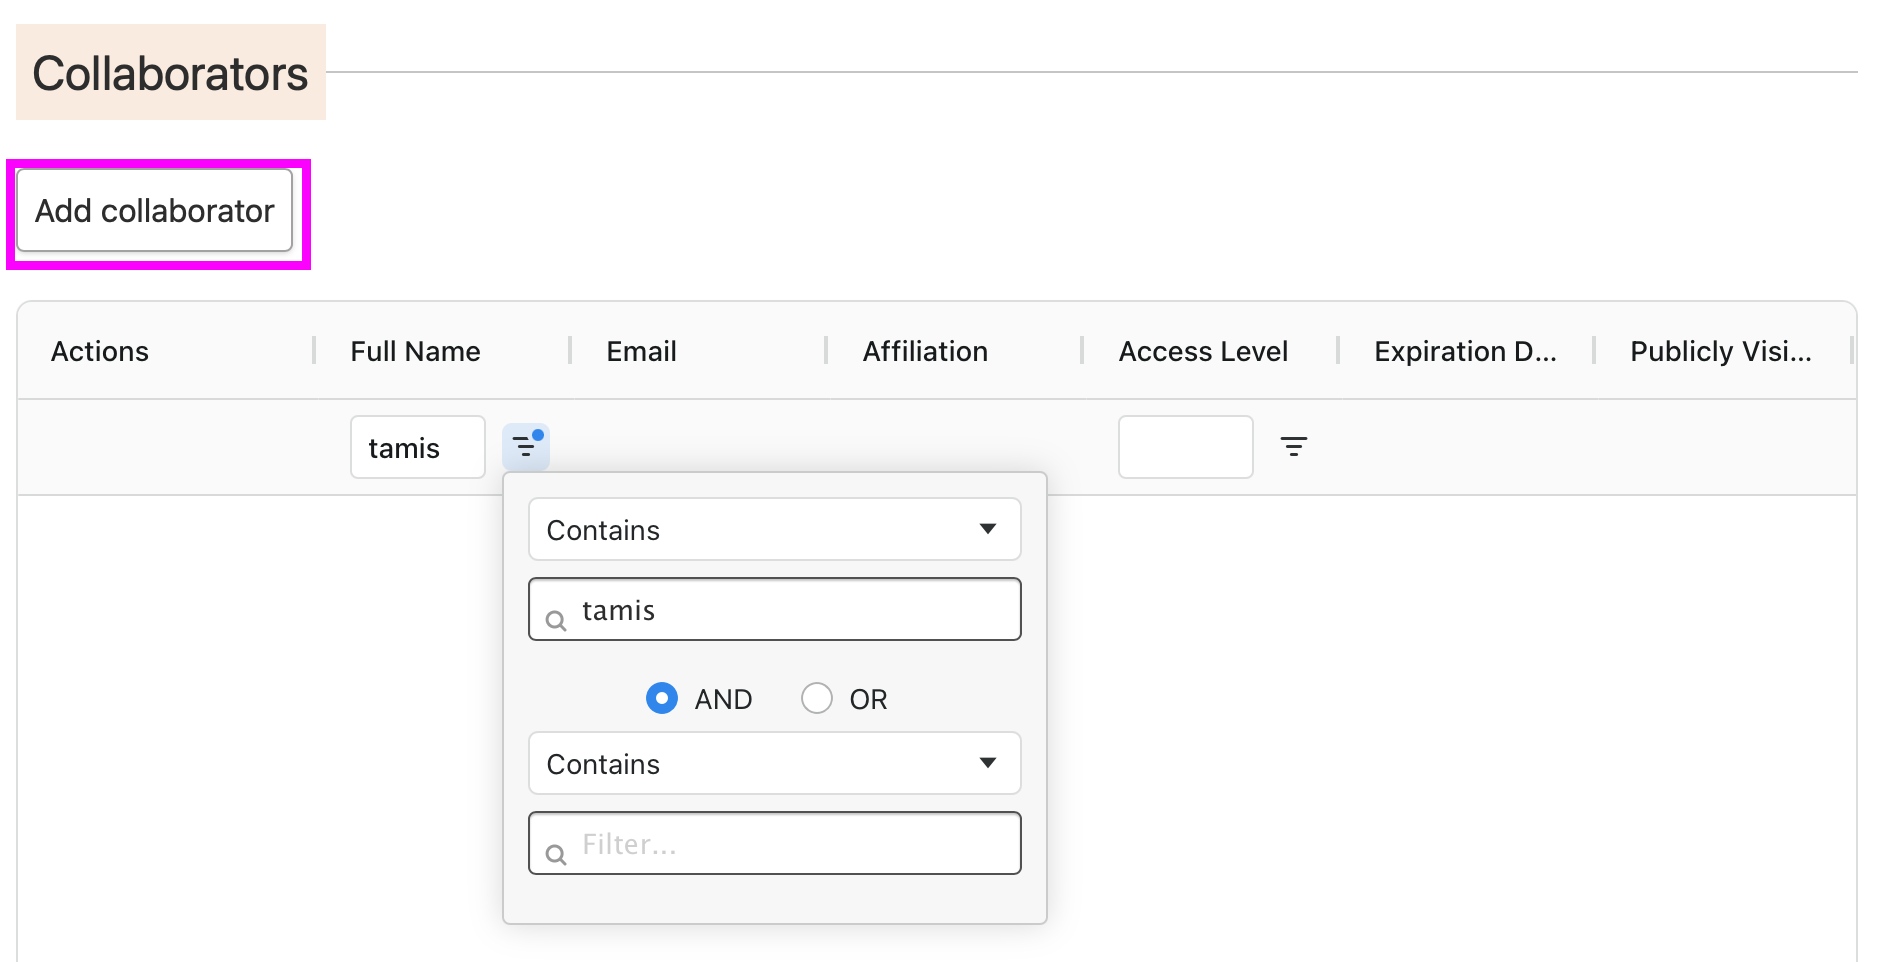
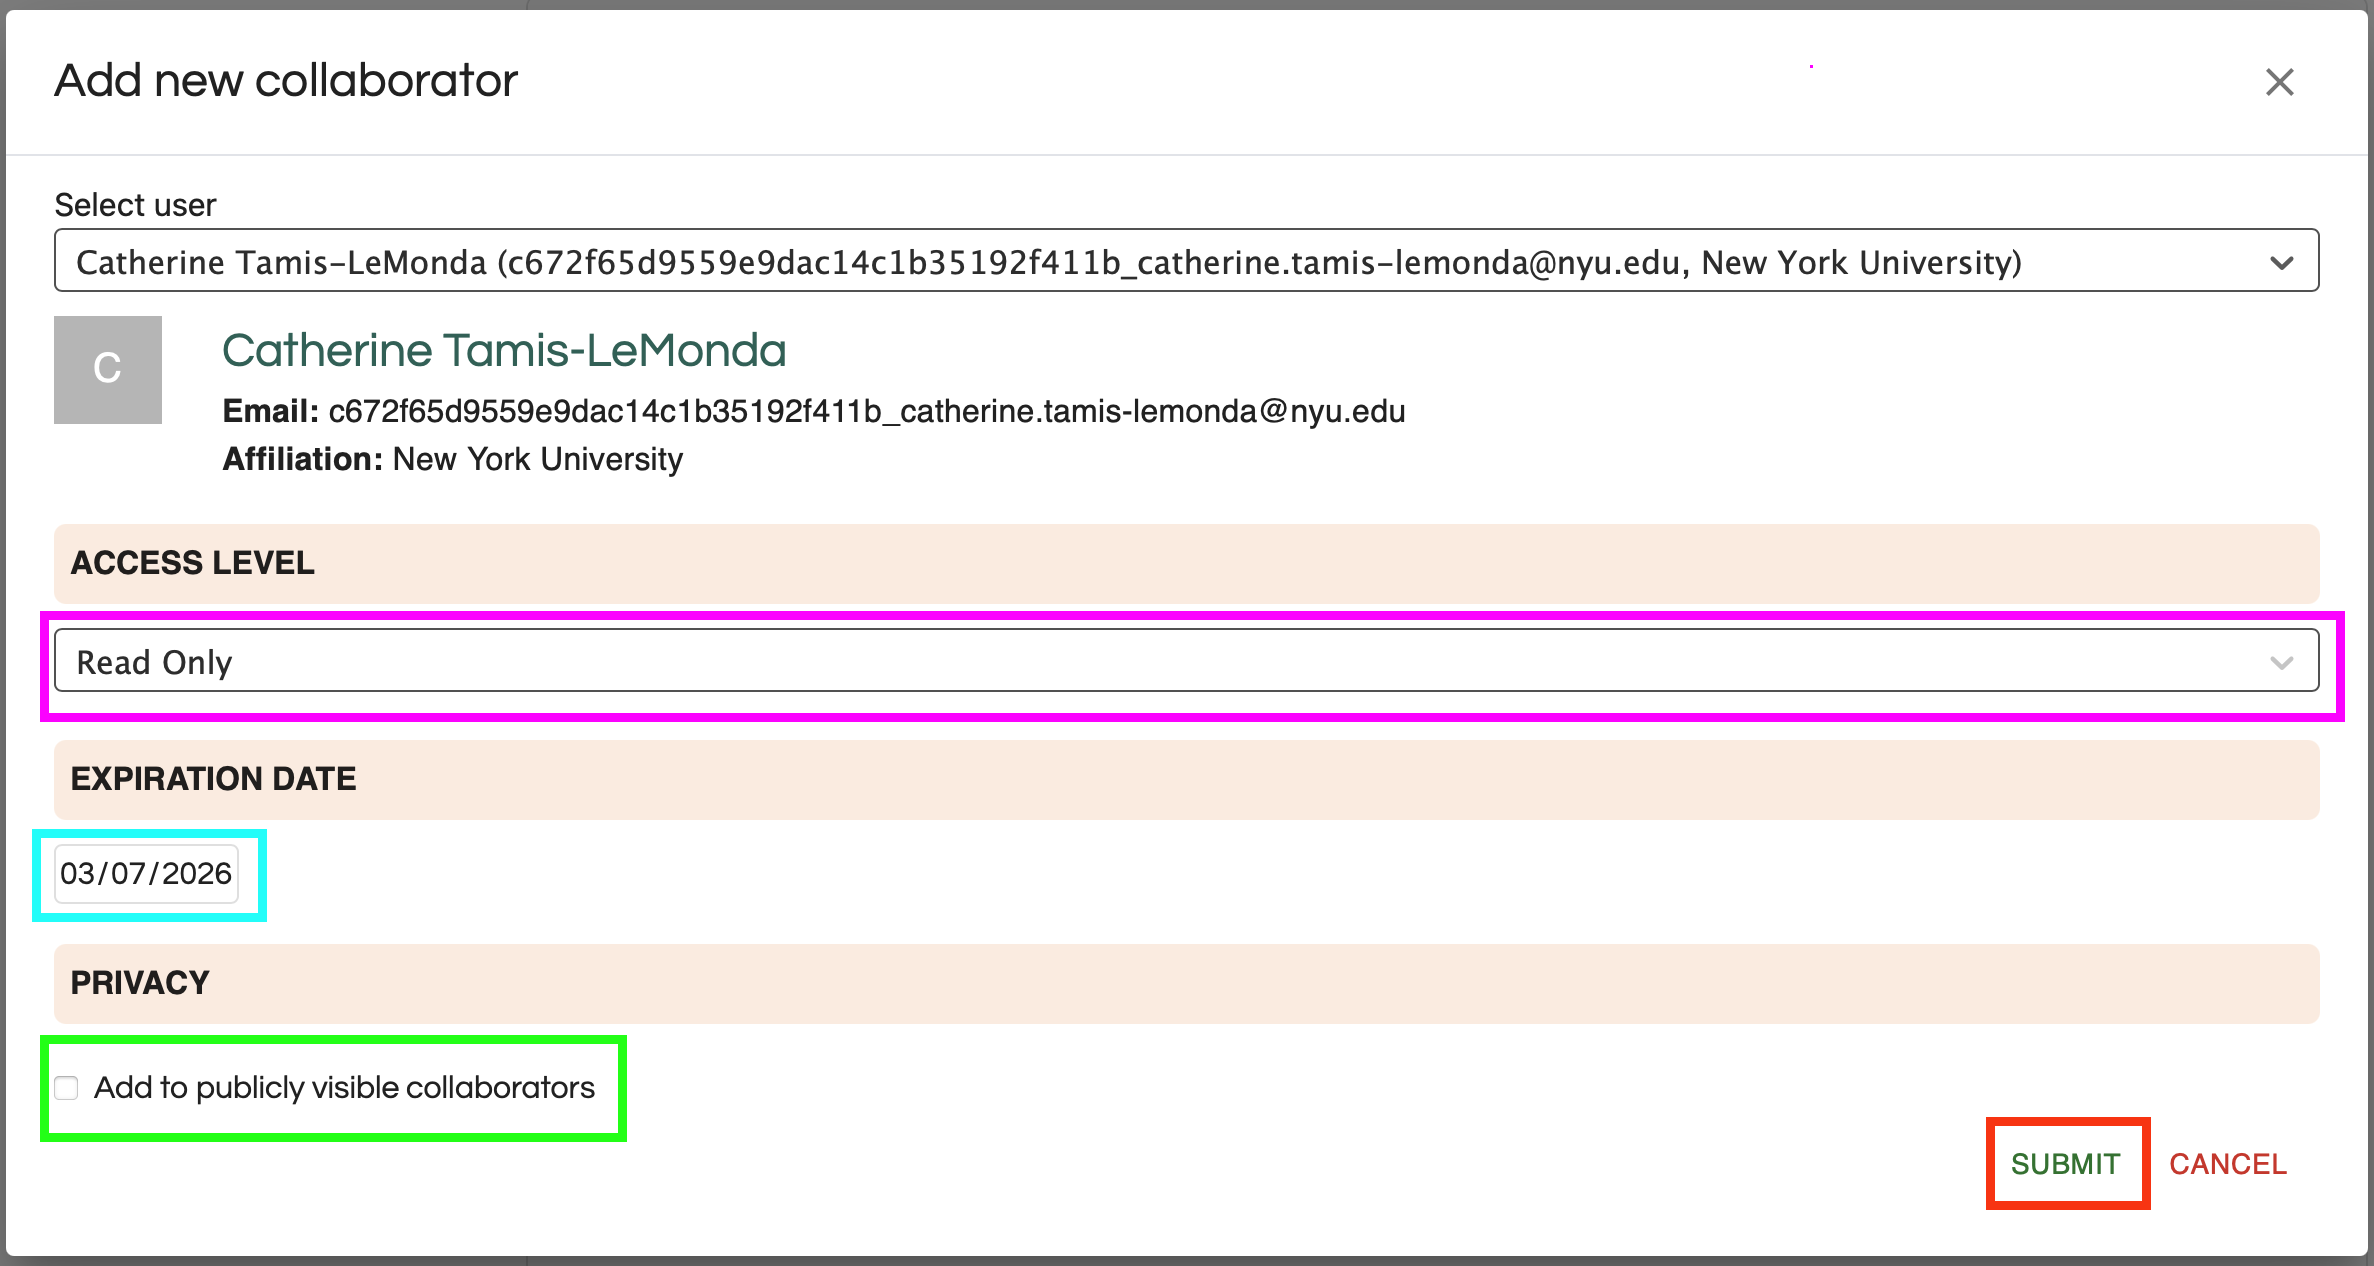
In Databrary 2.0, read or read/write access to a volume is under the control of the volume owner.
Collaborators can include Authorized Investigators and Affiliates.
API Access
As of October 2025, Databrary is piloting a program to give a small number of selected researchers access to a set of API commands that permit scripted access to the system. This can permit automated file uploads and downloads.
Please email Databrary support if you wish to discuss participating in the API access pilot program. See this page for details about the application process.
Roadmap
We expect to be releasing new versions of the Databrary application on a regular basis over the next several months.
Databrary has received new funding from NSF to support even more feature enhancements over the next two years.


